I started to add this to a thread, and realized it was probably better make a fresh post in case someone stumbled across it needing some info.
So here is a little synopsis of the rack removal.
Need to remove the steering column:
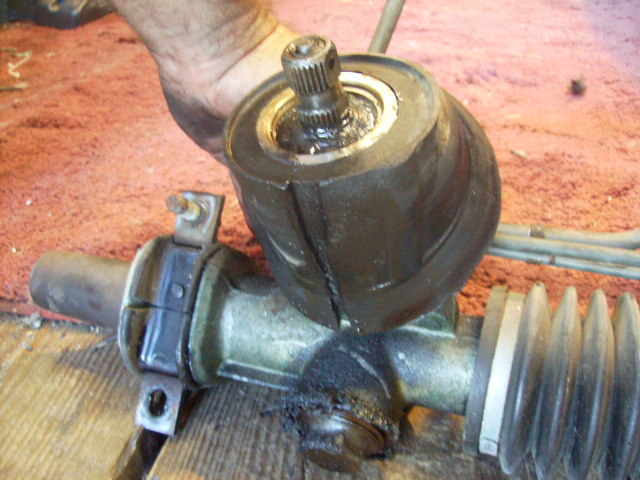
Once out you can see the input pinion shaft and seal - this is where the mystery leak comes from


Disconnect the master cylinder cylinder and bend out of the way, but leave all lines hooked up. You will have to remove the fuel line bracket and move the fuel line a bit to allow the master cylinder to move all the way forward.

Next from inside the car, remove the 4 nuts securing the power brake booster and remove the booster. Yep, you have to get this out of the way to gain access to the nuts holding the rack.Oh and disconnect the pedal to the booster rod.

Once out you can see the drivers side rack bracket.

On the passenger side remove the alternator and power steering pump and firewall reservoir, if applicable. OHC engines and early OHV have that, Later OHV doesn't - not sure about V-6's.
Once these are out of your way you have access to the passenger side bracket.

Next disconnect the inner tie rods.

Now you can unbolt both brackets and remove the rack. Some OHV models have a power steering cooler underneath the front passenger floorboard. You'll need to disconnect the hose to it and it is a PIA. You've been warned....LoL. Removal of the rack is a delicate matter, you'll need to slide the one side as far as you can through the opening for the tie rod to gain access to lift it up and pull it up and out.
Once out you'll be able to see that little galley they built to let the fluid ooze outside the drivers compartment.
Don't dispare if the rack bracket studs come out. Use 2 other nuts together on the opposite end to tighten and place the 1 nut end in a vise and remove the locked nut off.

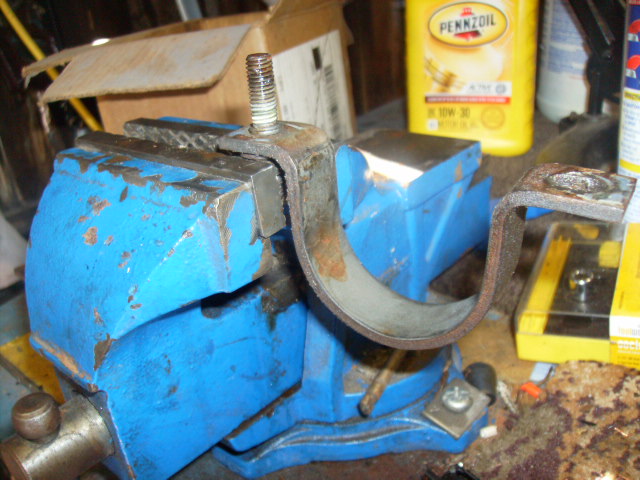


Next use the 2 nut technique to replace the stud back into the firewall.

Oh yeah, after you try to replace the bracket with the stud still on and find the $@&* thing won't go back on, you'll find all this nut removal stuff handy. The bracket simply would slide back over the rubber insulator and push that rack back into position. Yep - I tried the easy way too. Yep I lost my religion too. Yep, I had to replace the studs first. It was a learning experience.
Lastly when you remove the rack you'll see the lovely view of those Heater Core Hoses - Man You'll never get another view like this again - if you can spare the change - replace them while you are there - I regret not having the money back then.

One last ominous note here - this here is the OHC engine - even with all this stuff outta the way you can just b e a r l y see the starter motor....... My heart goes out to anyone that has had to replace this Beasty in a Brazilian engine - I truely feel your Pain.
The second time is always easier....just so long as it hasn't been years and you haven't forgot it all!!
Hmmmm, at my age it seems to only take a few weeks!!!

...........................................................................


Wow, thanks for the info Orlen. Looks like a real pain to replace.