I just want to start out by saying that the following is how I decided to mod the l61 cover based off what I've read/seen on various forums regarding pcv mods for boosted motors that weren't from the factory. Feel free to offer other idea's or try different things yourself and post back any input you may have but this is how I did it for my turbo build. You will need to be able to weld aluminum or have a buddy who can via tig or mig. I based my baffling layout on keeping it simple and that fact that I'd be under WOT for short periods of time since my car is mainly a dd. I'm not responsible for any broken parts or damages based off what you do, I'm just sharing what I've done for my personal car.
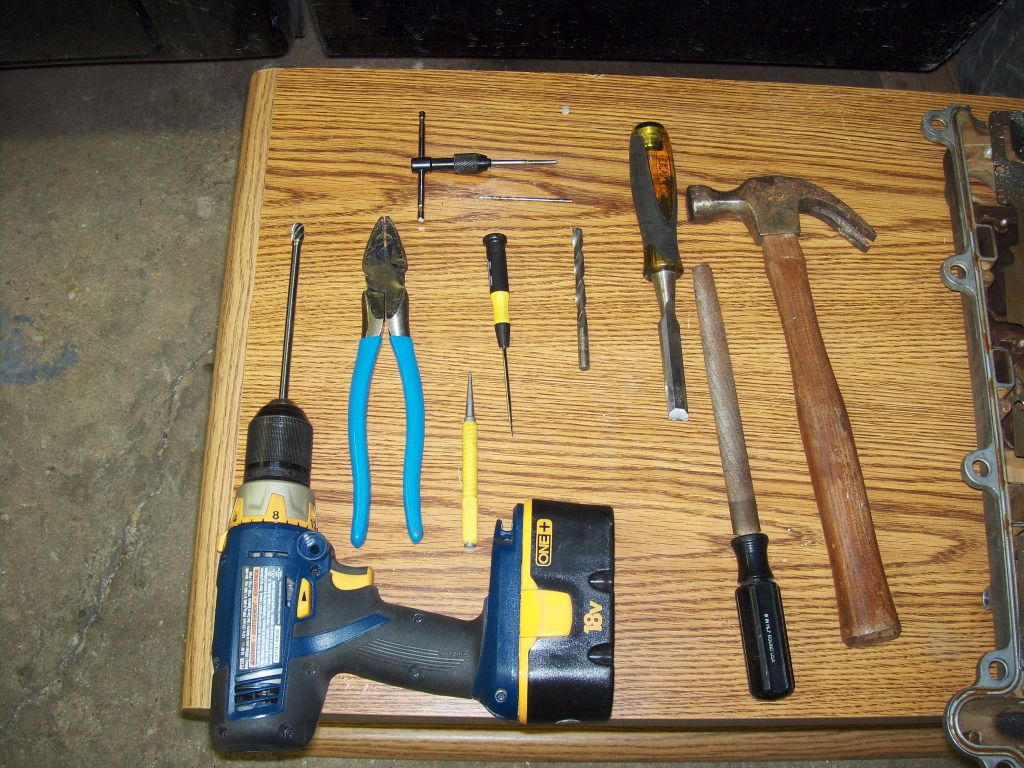
Anyway here is a pic of what tools you will need. Not in the pic are saftey glasses, rubbing alcohol,brass wire wheel, propane powered weed killer torch, the drill bit needed for the tap size I used and my tig welder.
*The List*
Chisel
hammer
punch
drill
aluminum head porting bit (attached to drill in pic)
linesman's pliers
tap and t handle
a pick
a file to debur the aluminum
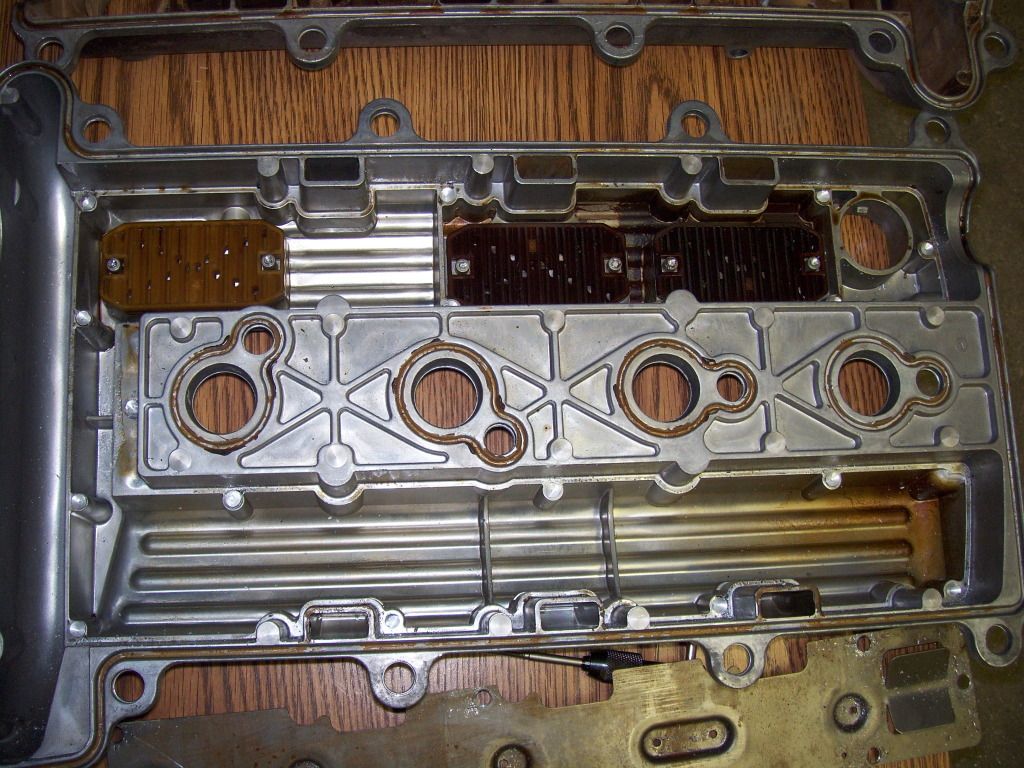
This shows the rivets that you need to split with the chisel and the hammer. They are marked in green.

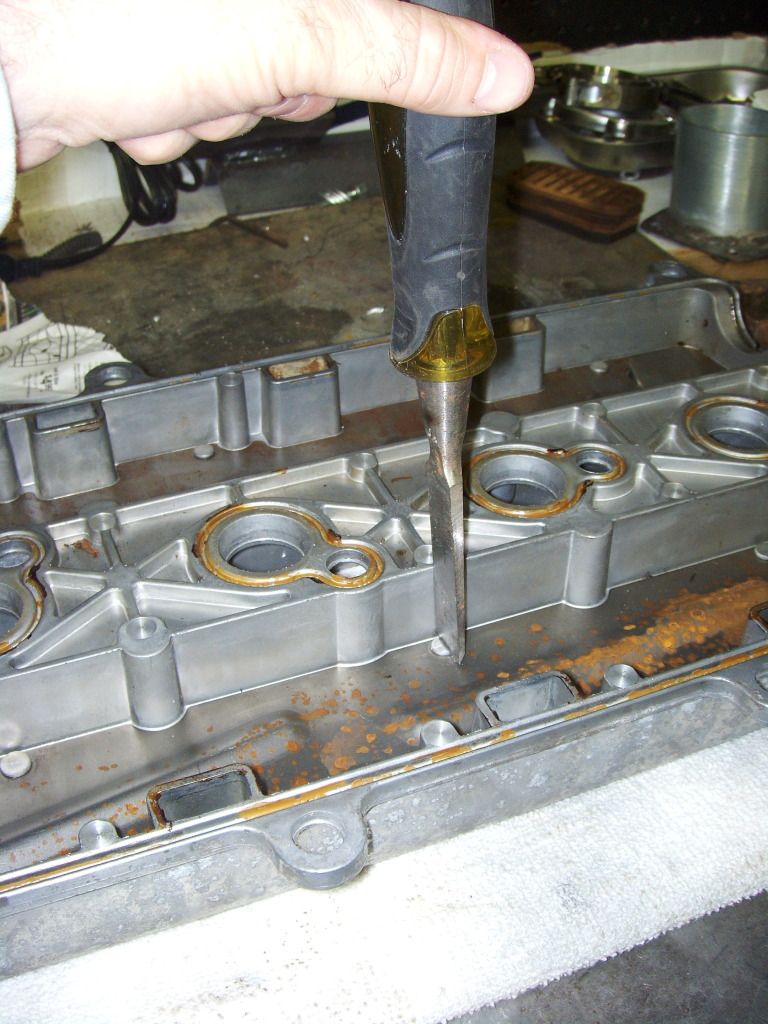
This is how most of them look if split properly, if they don't come out like this no worry. You can use your punch to put a small dent in the center of the rivet and use a 5/16th's drill bit to take just a little material off the top so the steel plate can come off the valve cover.
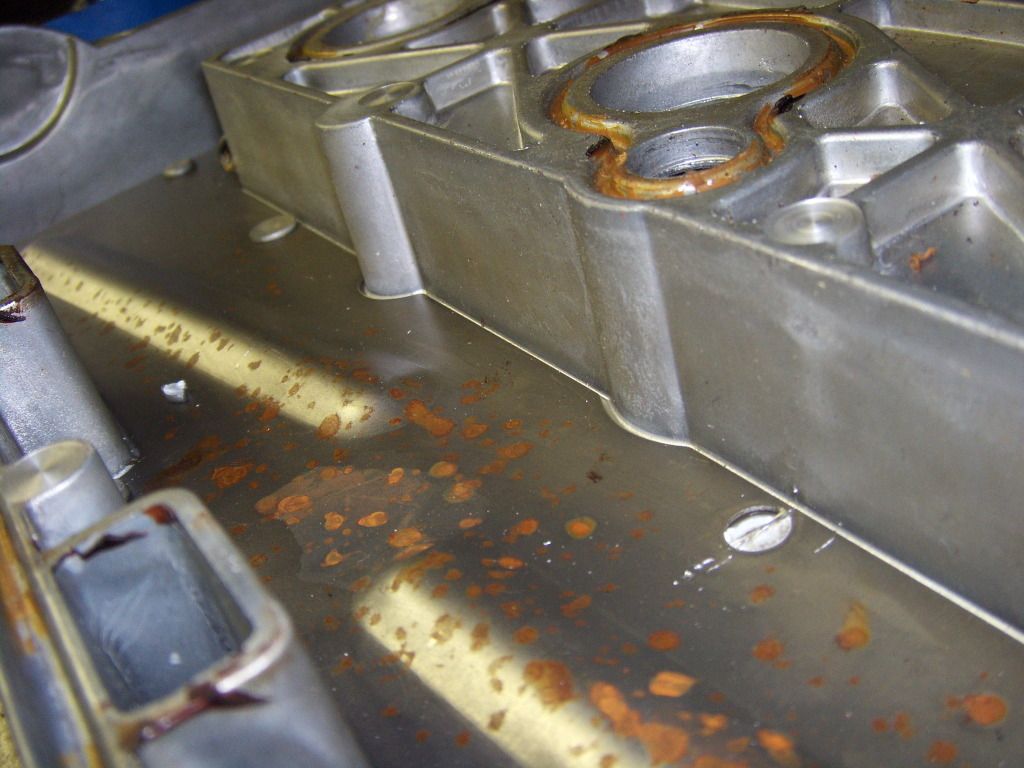
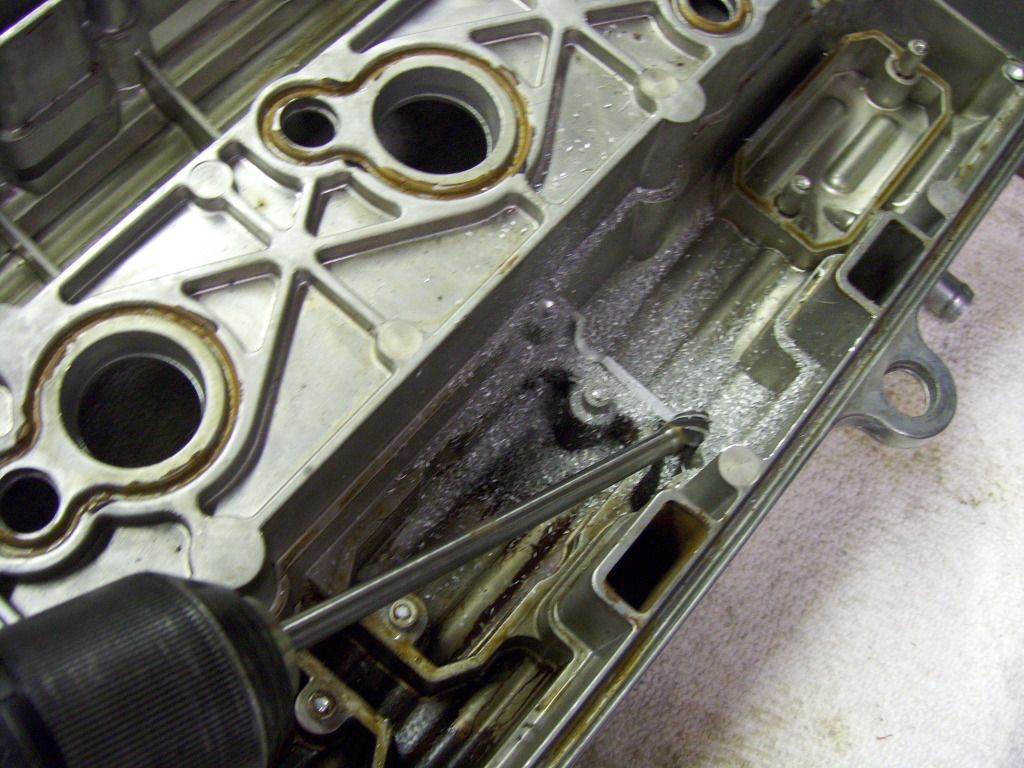
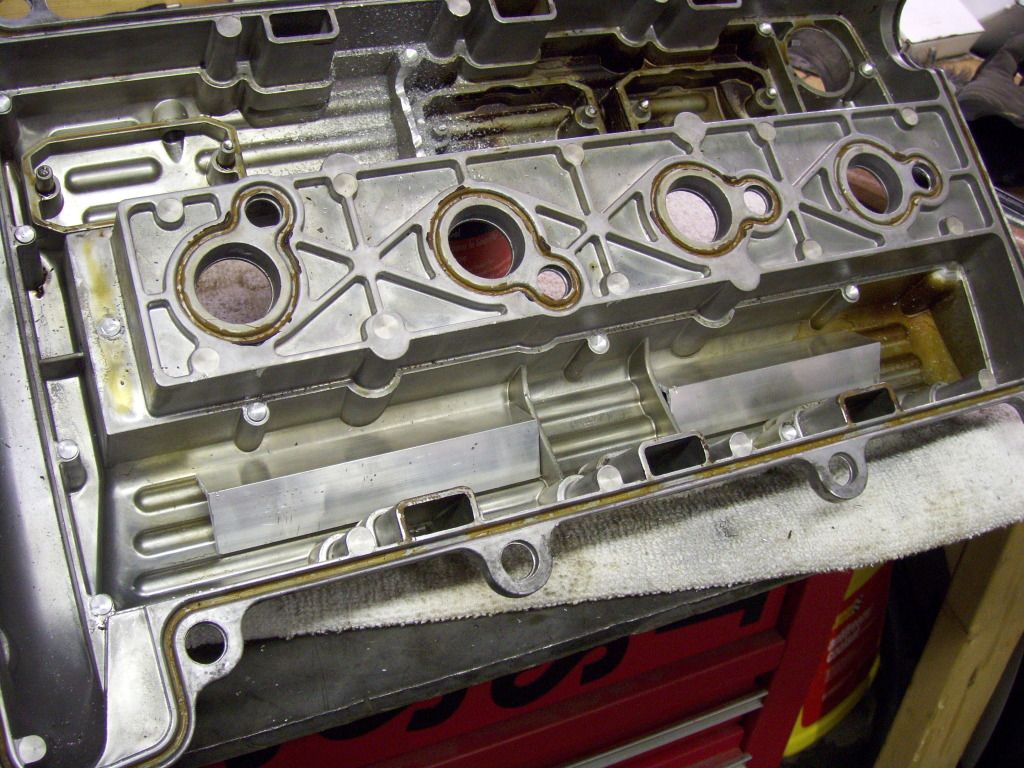
Now once you get this far and the steel plate is removed from the bottom of the valve cover this is what you'll see. Remove the plastic baffling and throw it away. You'll see why in a few photo's.
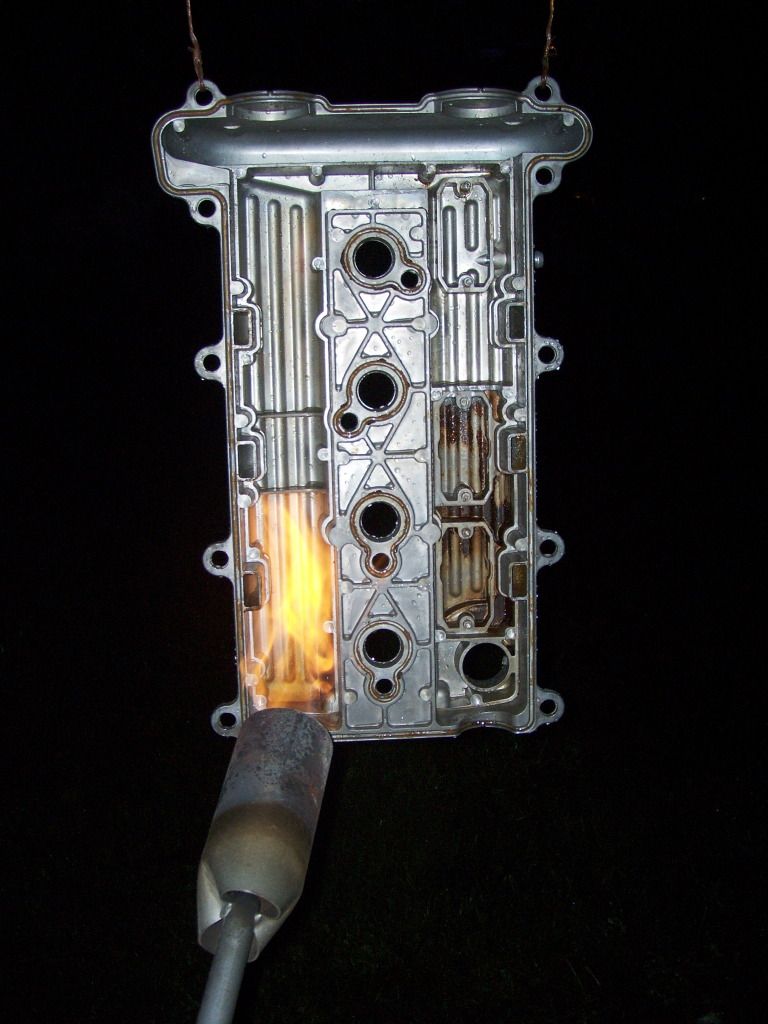
At this point you're going to need to scrape out any sludge buildup that may be inside to the best of your ability. Out of the two covers I tore apart for this I'm using the clean one that had mobile 1 synthetic ran majority if the time in the motor as opposed to the one on the motor that I'd sent out to my machine shop. In order to properly weld aluminum valve covers you need to remove the oil that is in the pores of the metal. I used a propane powered weed killer torch. I would advise against trying to bake it in the oven in your house. Things get very smokey and catch fire. I did this for about 5 minutes and let it cool off. Once I went back to it, oil residue was basically dust and I wiped if out and heated it up another time for good measure.
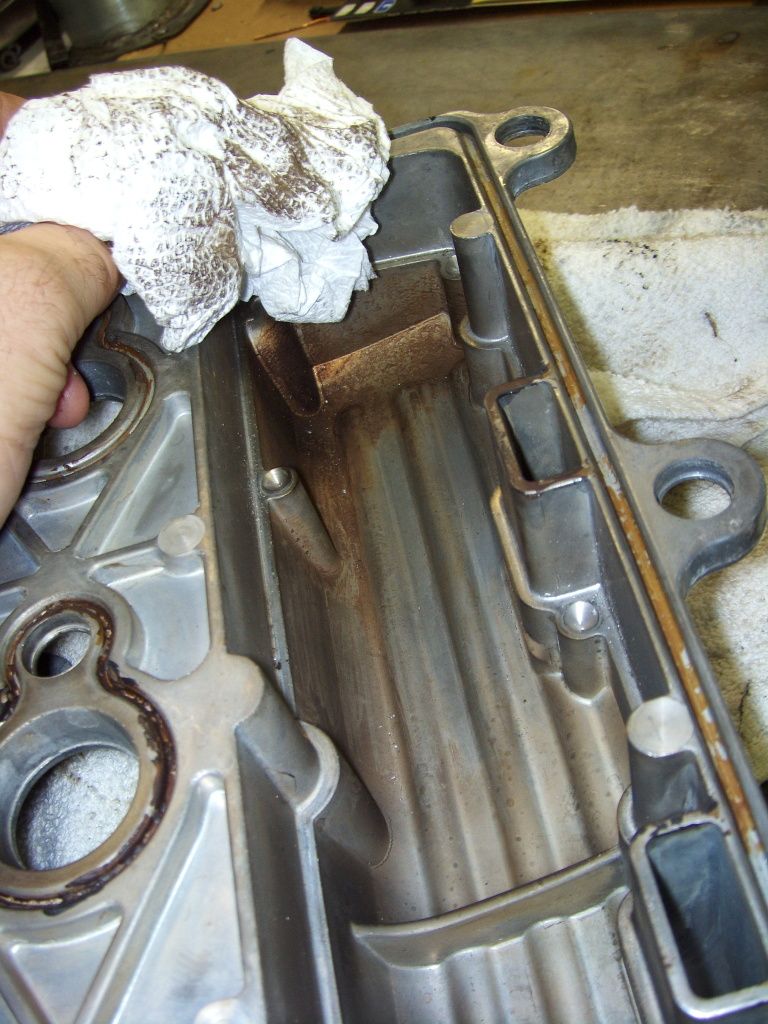
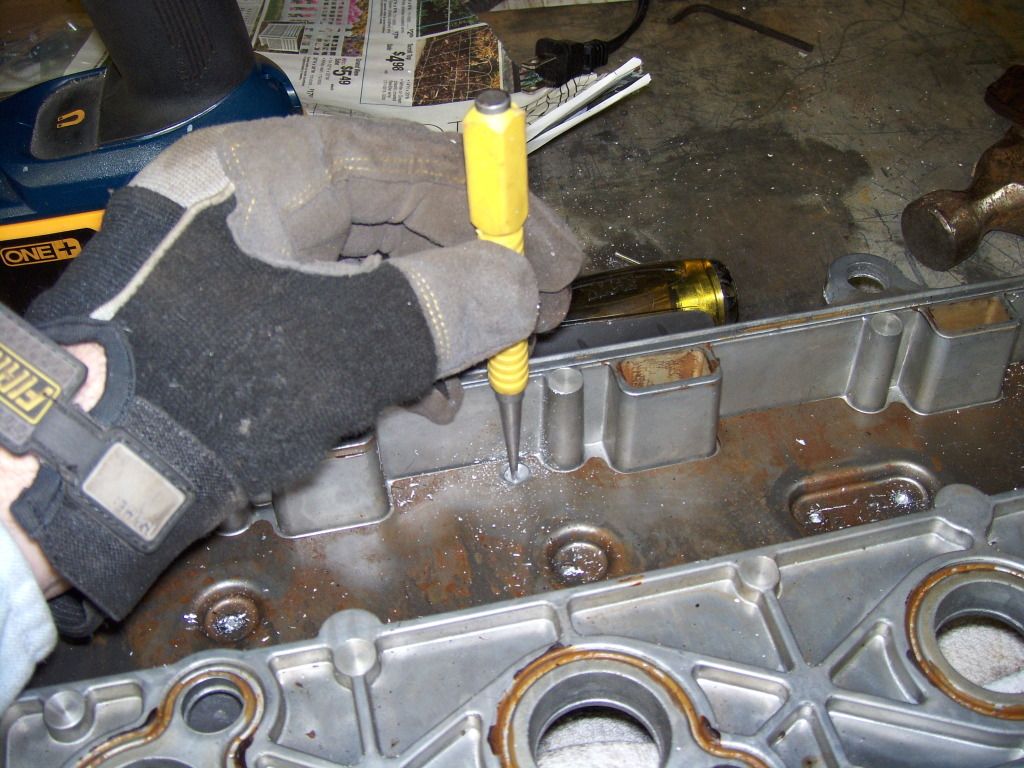
This spot on the intake cam side of the cover is why I said to remove the baffling all together. When the steel plate is back in place it blocks off two of the three pcv spots on this side of the cover ( sharpie'd area ). I used a porting bit on my cordless drill to cut down a bit on each side then I snapped the middle off with my linesmen's pliers.
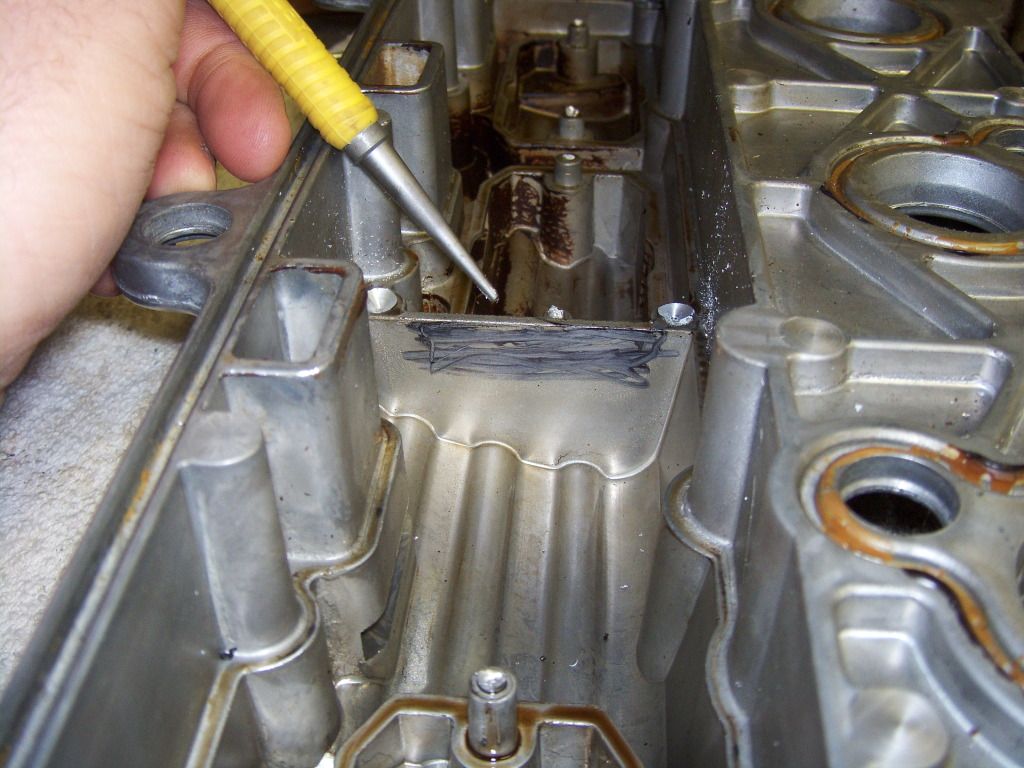

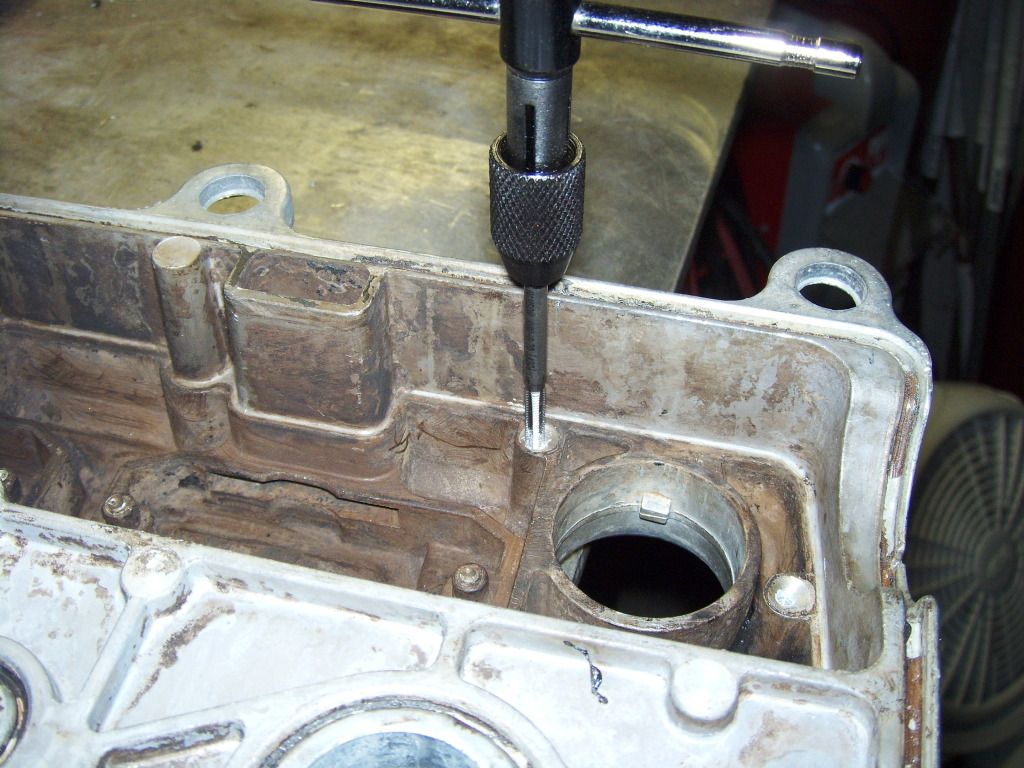
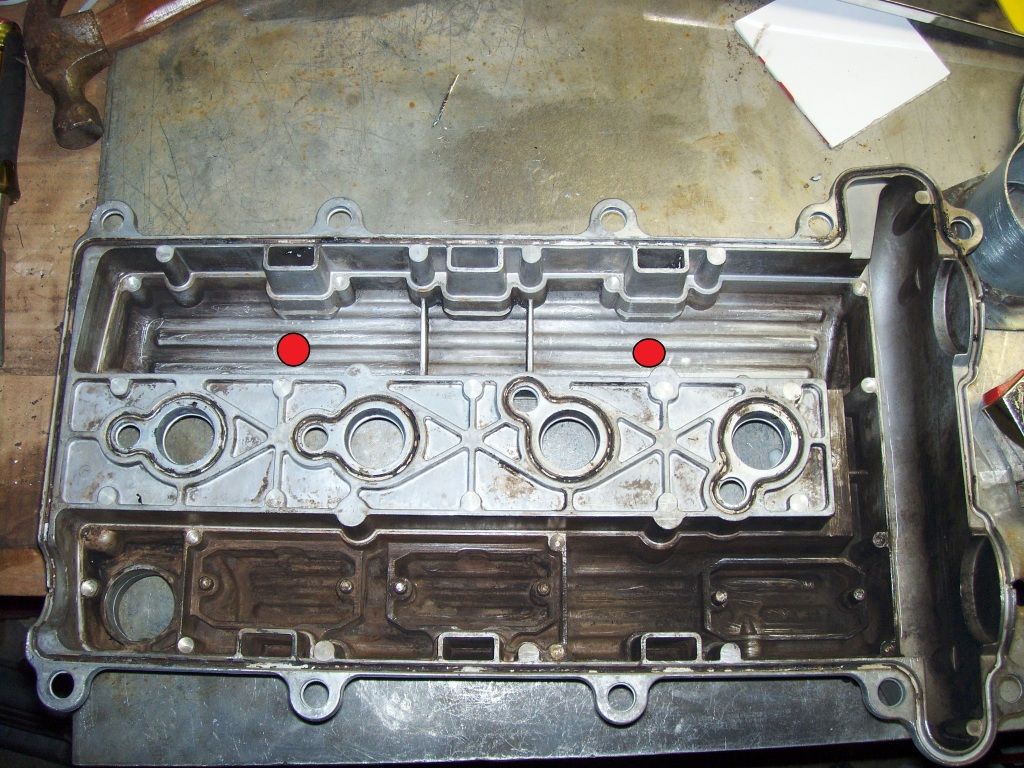
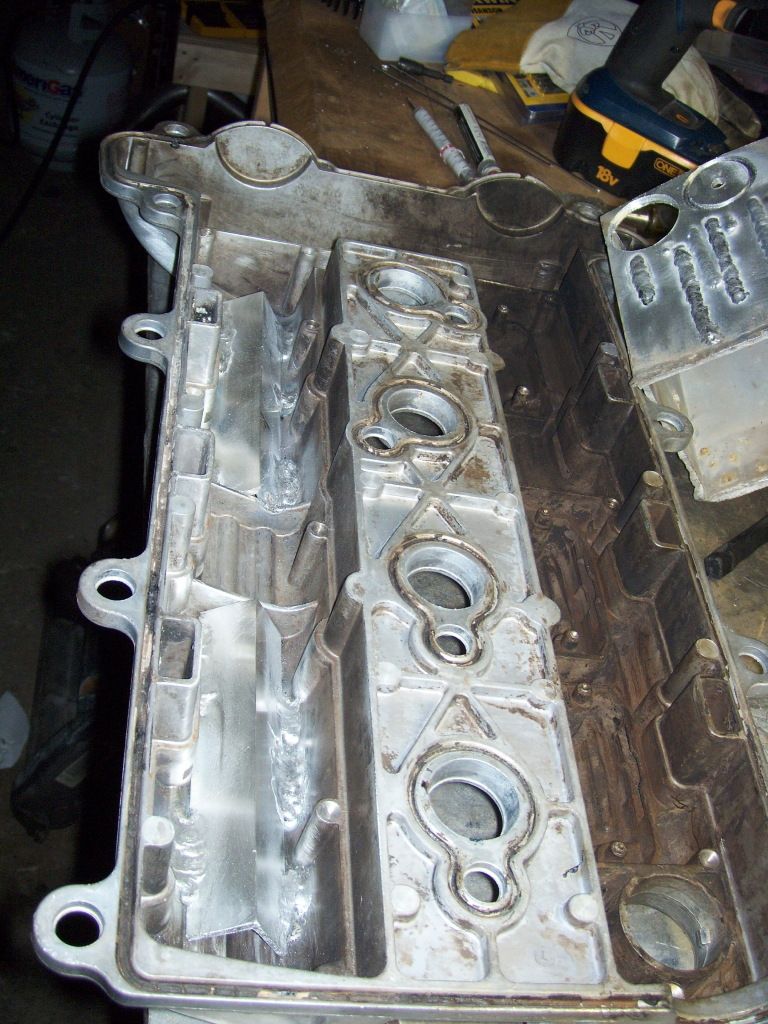
Next up is where we will be drilling and tapping the spots where the factory rivets were that held the cover on. Also at this time drill your holes for the AN bungs on the exhaust cam side roughly where I have the 2 red dots. I went with a 4mm tap as my local hardware store is right down the street and the bolt and washer are just about the same size as the rivets we removed. There are like 21 spots that need this done so here is one photo.
*AT THIS POINT YOU WANT TO TAKE YOUR TIME AND GO THROUGH EVERY NOOK AND CRANNY OF THE VALVE COVER AND REMOVE ALL TINY BITS OF ALUMINUM FROM DRILLING AND TAPPING AS WELL AS BREAKING DOWN THAT TINY WALL ON THE INTAKE CAM SIDE OF THE VALVE COVER. WASH IT AND BLOW IT OUT WITH COMPRESSED AIR.
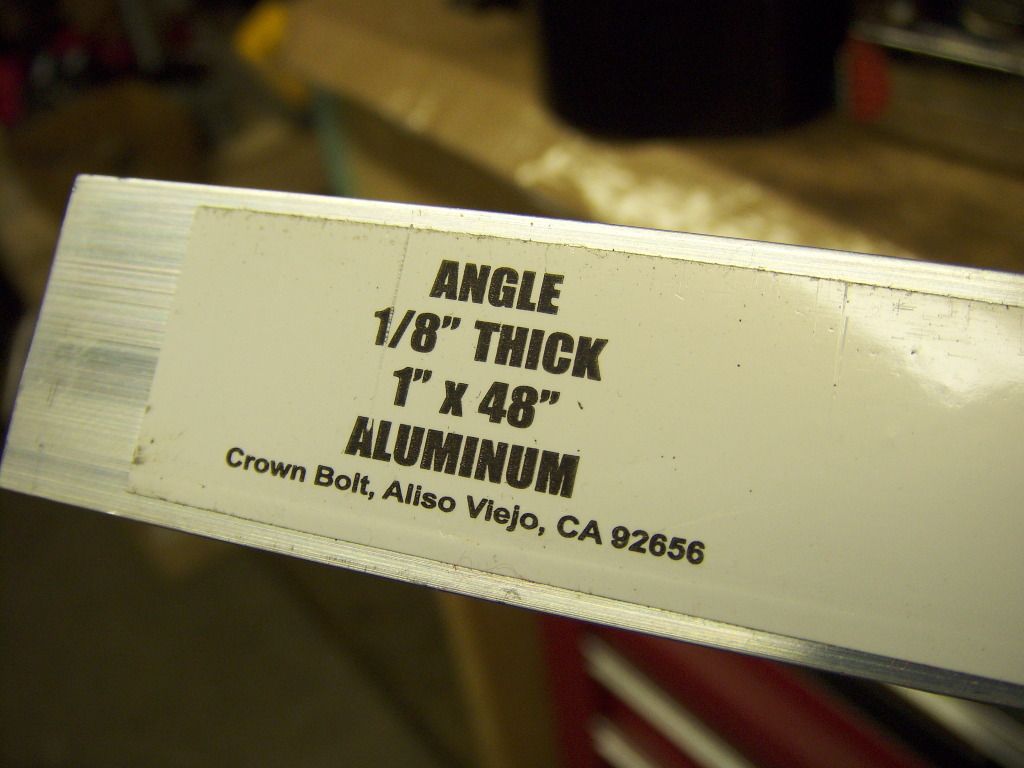
Alright now your ready to cut some 1"x1" aluminum angle that is 1/8th inch thick. basically you only need enough to butt up against the middle "walls" by the middle pcv vent on the exhaust cam side and extend past your holes for the an fittings that are to be welded on. Once you get them cut your going to need to debur the ends with your file so nothing can fall off and possibly aid in making expensive noises down the line. This can be seen in the 2nd pic. The layout of the angle is in the 3rd pic, the ribs in the valve cover actually help locate them and from sliding around too much.

Now we are at the point where we can start welding the baffle's in and the AN bungs. Aluminum oxidizes rather quickly so make sure you only clean the pieces that your going to weld as you go with a wire wheel and then wipe it down with some rubbing alcohol or acetone to remove any oil residue from surface of the things being welded. I would also like to note that with the baffles in place it's a pain in the ass to get a good line of site to weld in this tighter area so you might want to attempt a pass or two without actually striking an arc so you can see what might get in your way.
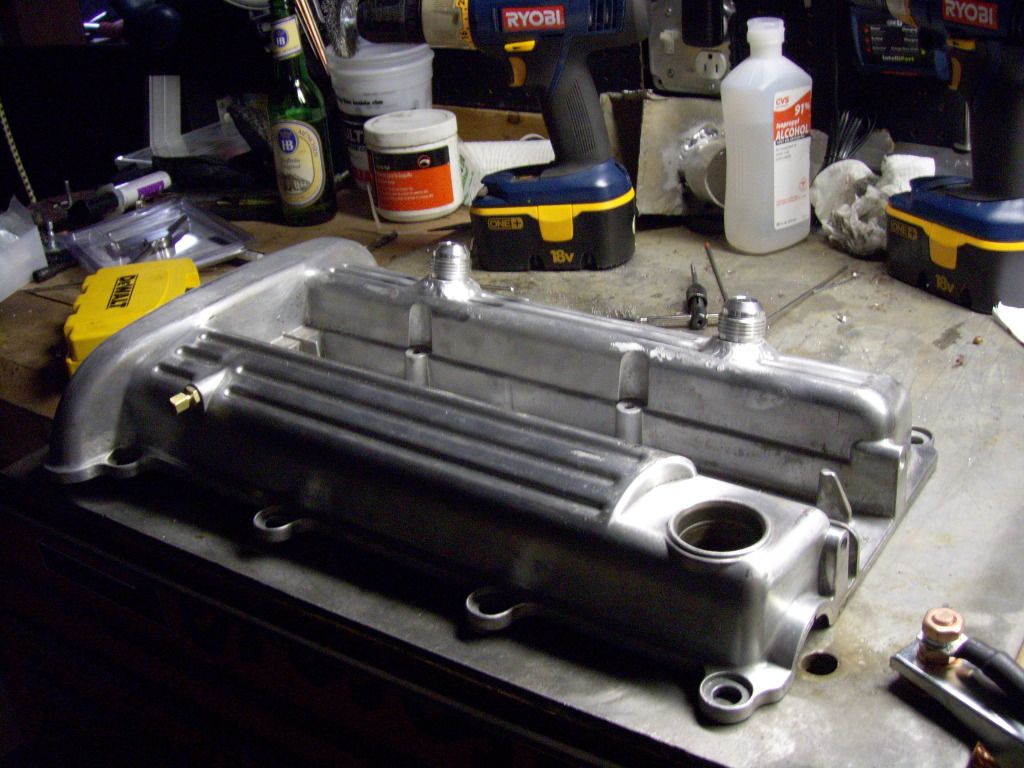
Alright at this point once you finish welding and everything is cooled off your ready to reassemble the steel plate to the valve cover. Make sure you use Loctite to ensure your bolts don't back out from engine vib's and heat. All you have to due now if figure out your catch can and hose routing. Hope this Helps anyone who is a little nervous about doing it themselves.
I would like to note in this final pic you will notice I didn't cover the factory pcv nipple hole. I realized that if you remove the nipple with vise grips and twist it until if comes out that I could use this port to see how much vac/pressure this setup might see within the crankcase when actually on the car. so I have added the required things to run a boost gauge off this spot.....plus I have to admit that is would be cool to see what your buddies say if one boost gauge goes positive while the other (fingers crossed) Goes straight into vac

Happy Modding guys

Really cool! I love following your progress threads
Great job bro!! Really good details and walkthrew..
Nice. I've always wondered what was a good way to reinstall the steel plate.
Error: Sig not found.
Thanks guys, Kyle I was thinking of plug welding them at first but it wouldn't have worked all that well. Another member mentioned tapping them in my other thread about the baffles and I found a smaller tap than what I had that would work.
Very nice work! I may do something like this next time I get around to doing a new valve cover set up

Very nice setup, wish I could weld aluminum, or knew someone who can.... lol.
thanks for posting this!