Dude, if you and JuicedZ24 had a fabrication baby I would raise it lovingly and have it build me all kinds of badass things.
The work you are doing is amazing.
Are you cutting all your brackets by hand on a bandsaw?
-Chris-
-Sweetness-
-Turbocharged-
Slowly but surely may some day win this race...
Jacob Pacheco wrote:Damn this is sexy I can't wait to see this machine done!! Any more updates???
updates will likely be slow for a month or so. He just got a job as a Firefighter medic and starts Monday. He has 5 weeks of training out of town.

I'm wanting to get back over to his place and see the updates in person.
 FU Tuning
I'm speechless! get this show on the road man! I seriously have to see this car in action at least once in my life.
I Can't wait to see this nice work of art and craftsmanship completed and ready to roll
Just catching up on this. I'll be keeping tabs on this build for sure.

Any updates on this thing??

Levi Weuve wrote:Any updates on this thing??
Sorry, just landed a job as a fire fighter medic in central FL. But, I did just order the Miller Diversion 180 TIG machine and a Miller Digital Elite Helmet. That should ship this Monday. So, I'll be at it again soon. Once again, sorry for the delay.
Enjoy life while you can, because you only have one shot. So go BIG or go home.

Sorry for the slow progress thus far, but the wife just told me to get this thing finished ASAP. Time to do work.
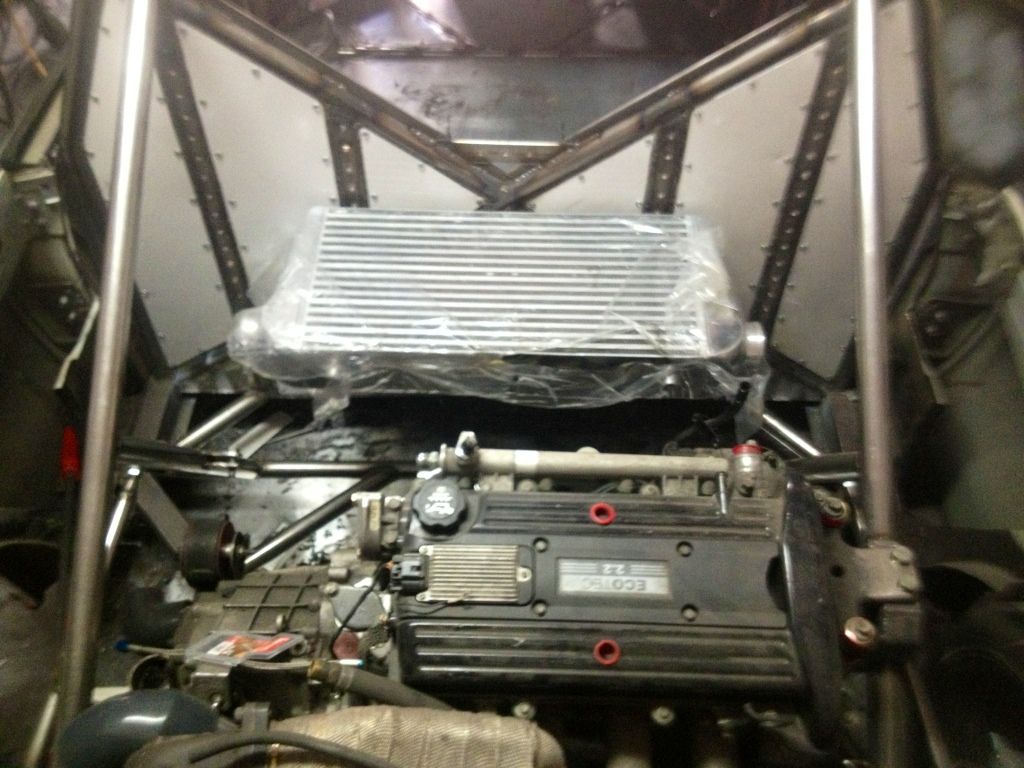
Just picked this thing up.
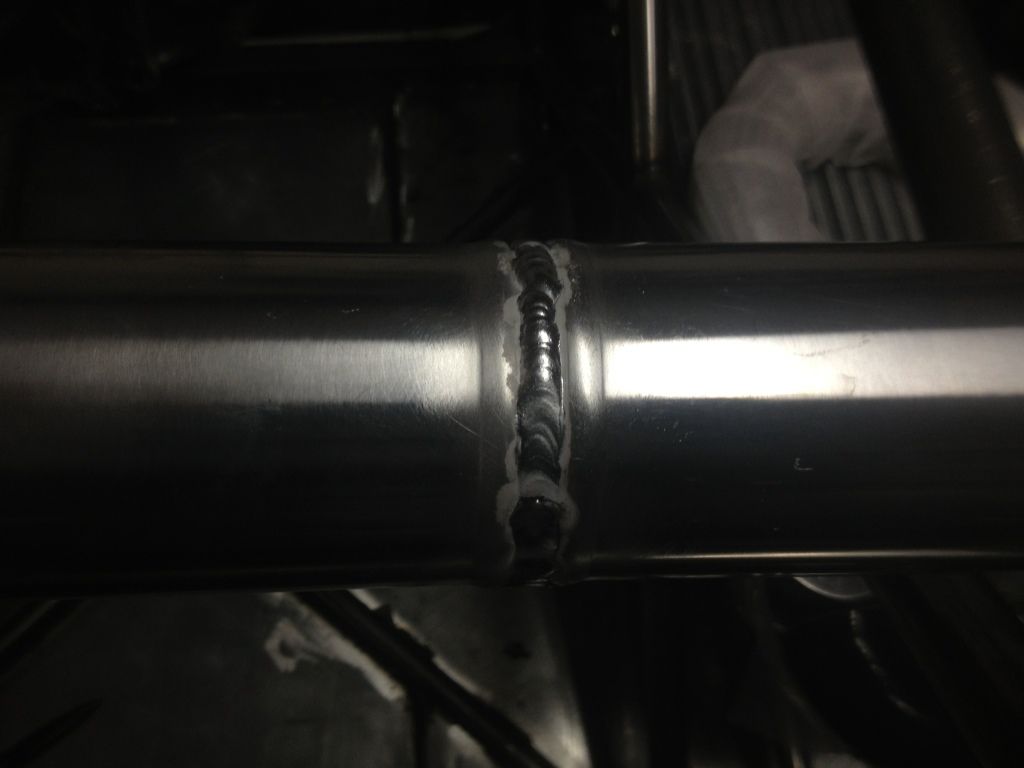
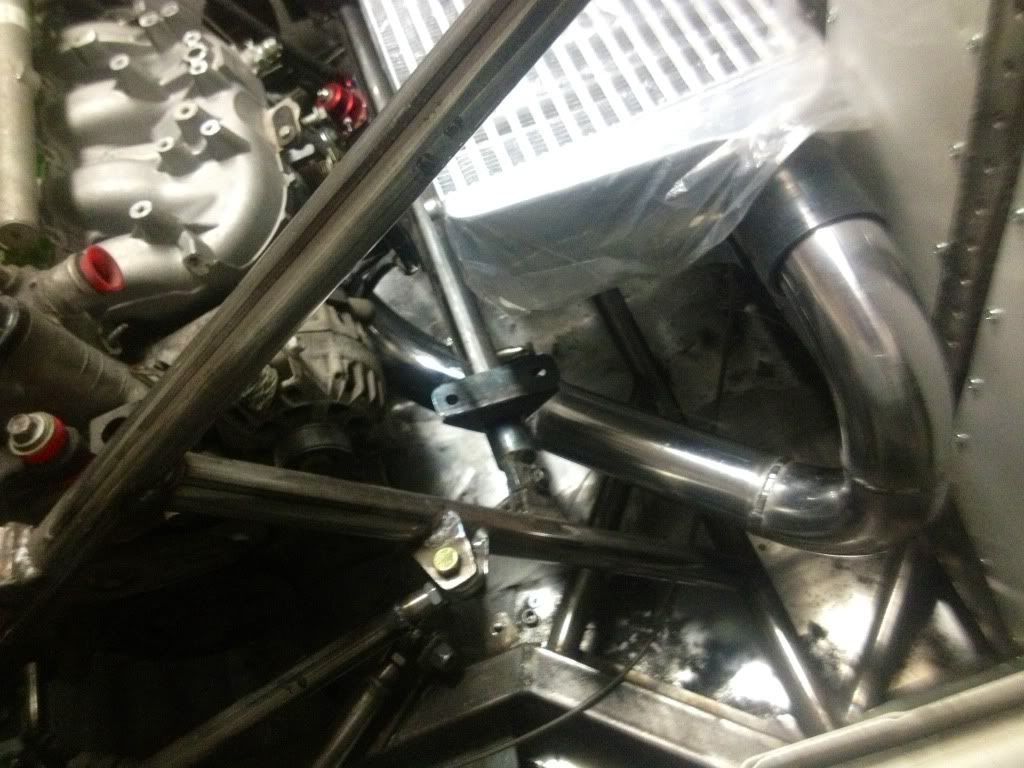
First time welding aluminum, pipe from the turbo to the intercooler.
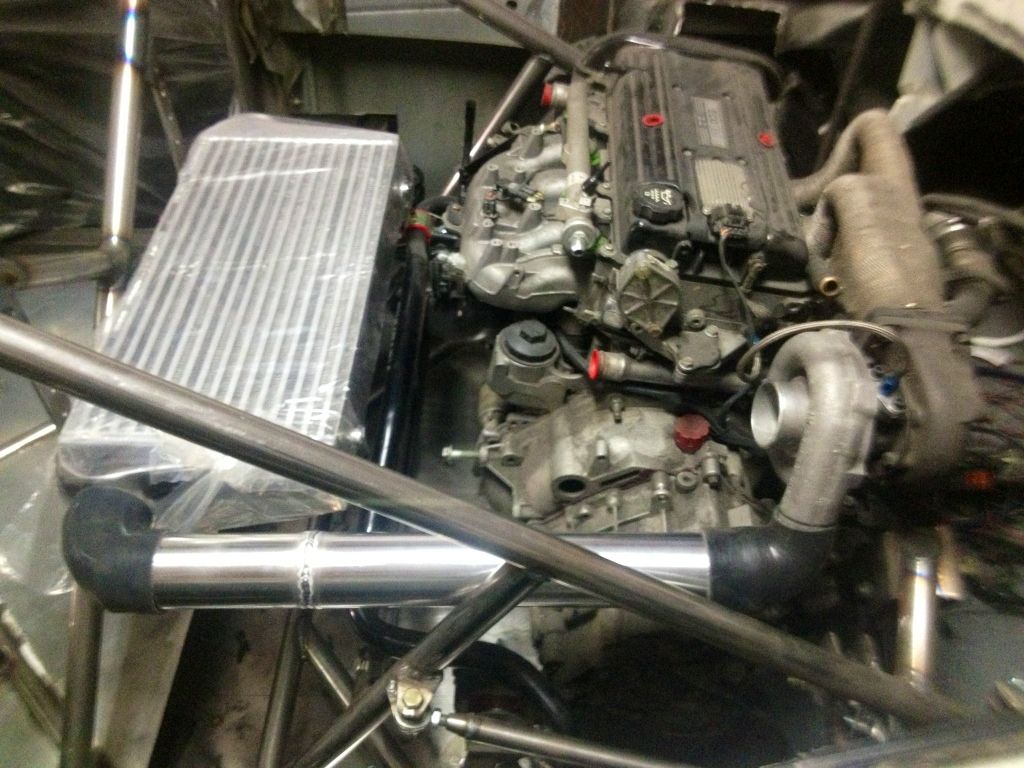
Seat brackets are mounted finally.

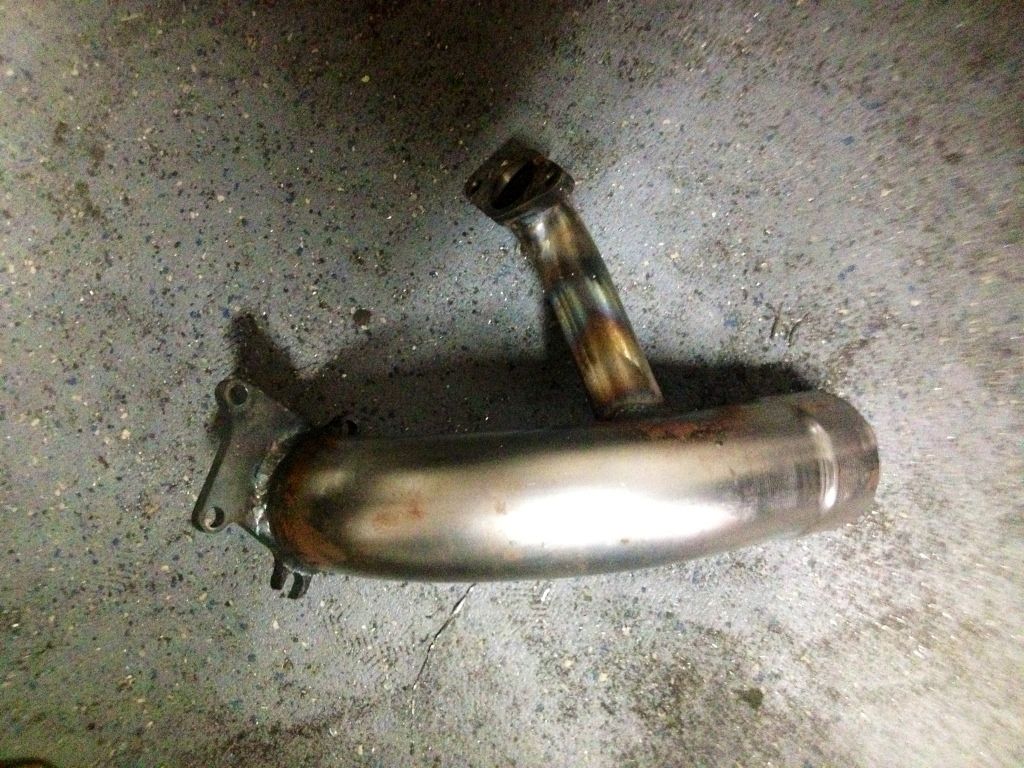
Downpipe is in order now, well somewhat.
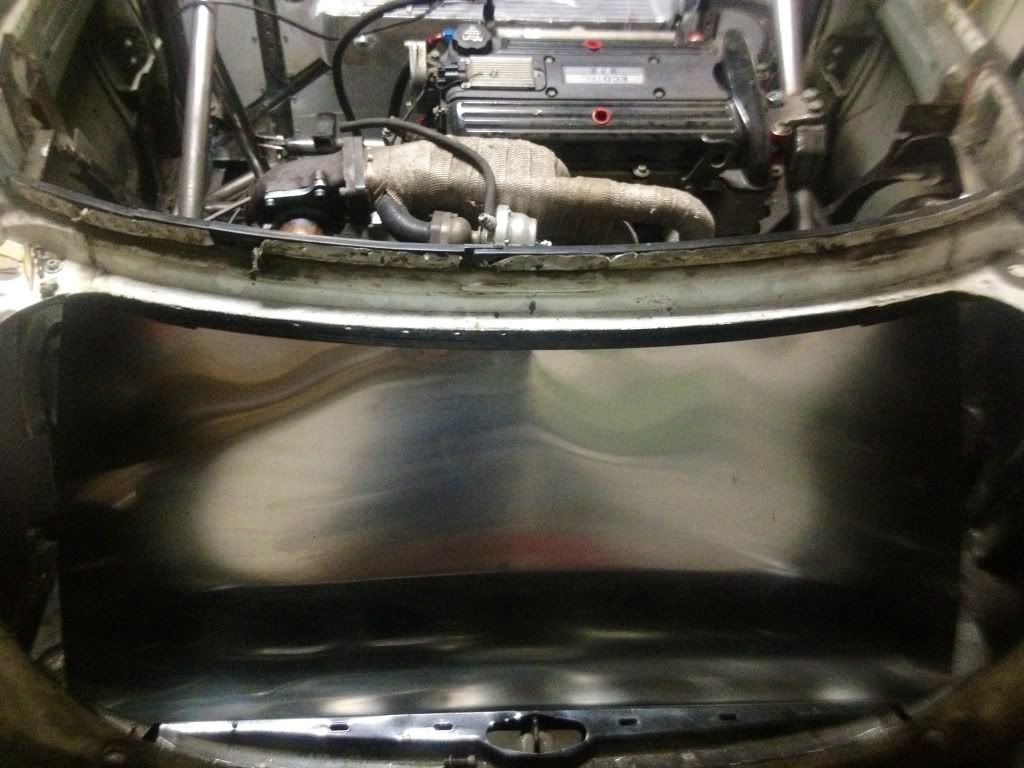
Finished the rear firewall today, now to hopefully get the front one done today as well.
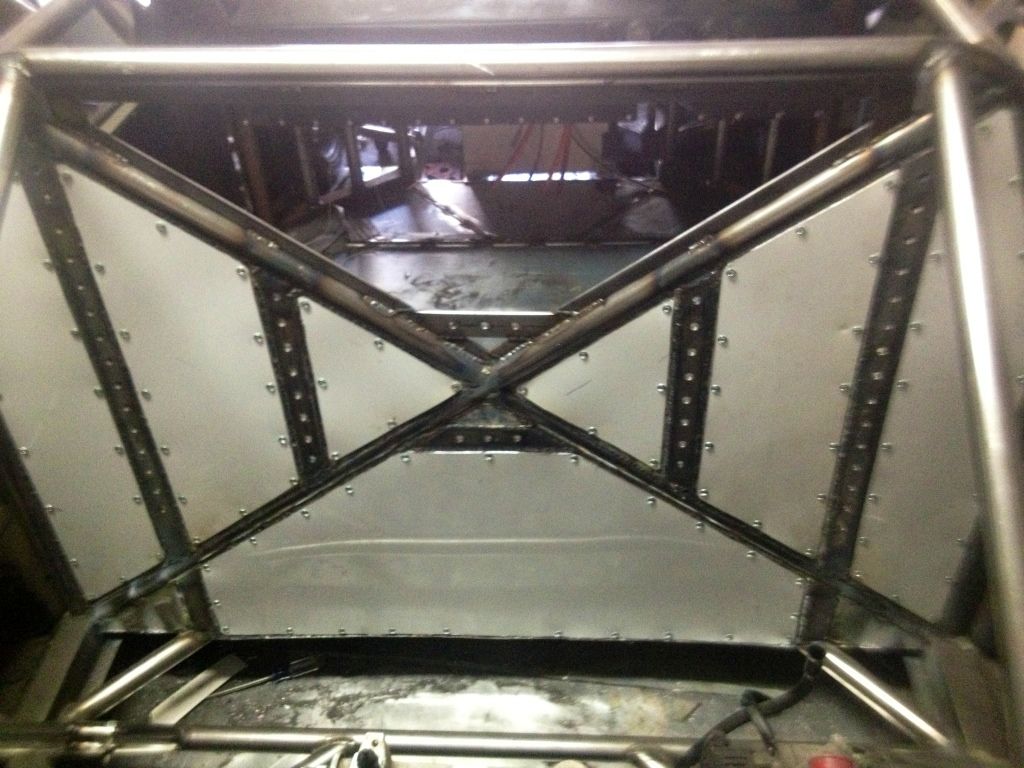
Need to pick up some lexan for the rear window/upper rear firewall
Enjoy life while you can, because you only have one shot. So go BIG or go home.
Nice pick up for sure on the welder. Grab the miller app on your smart phone if you have one. its a great starter guide if you aren't sure what to set the tig at. Good progress though! Love the short charge pipes.

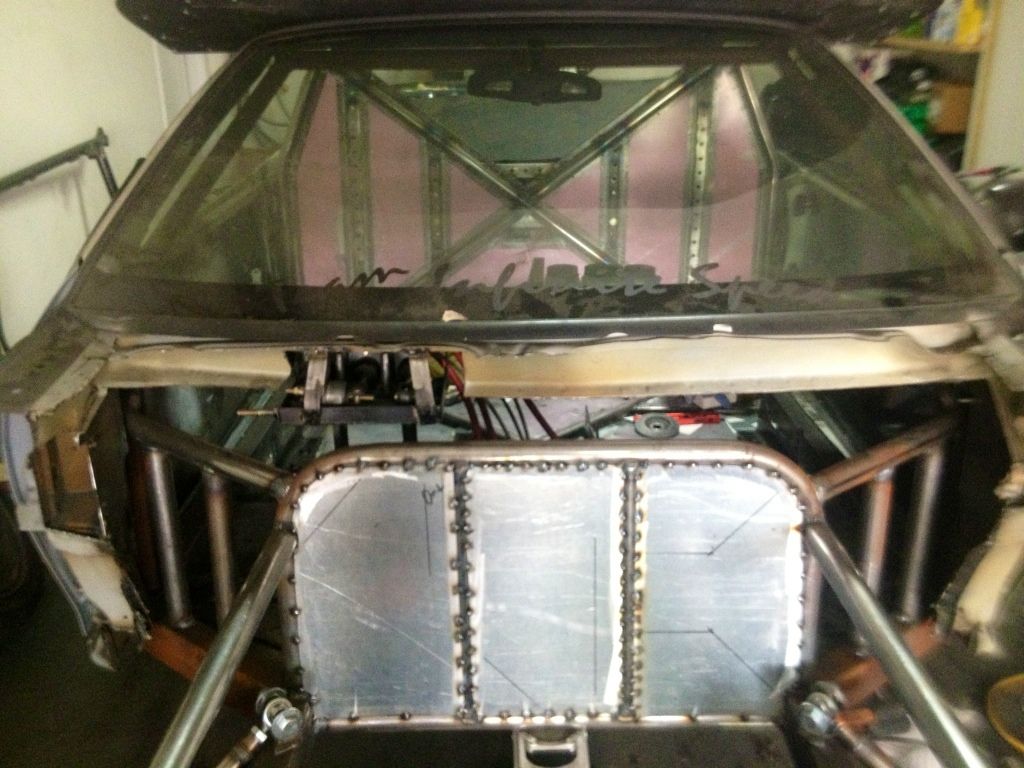
The start of the front firewall, using 20 gauge steel due to the fuel cell being right in front of it.
Enjoy life while you can, because you only have one shot. So go BIG or go home.
BuiltNBoosted wrote:Nice pick up for sure on the welder. Grab the miller app on your smart phone if you have one. its a great starter guide if you aren't sure what to set the tig at. Good progress though! Love the short charge pipes.
Thanks for reminding me about the app. I downloaded it when it first came out just to see what it was about. Totally forgot about it though, need to reinstall it now.
Enjoy life while you can, because you only have one shot. So go BIG or go home.
Ben Wootson wrote:BuiltNBoosted wrote:Nice pick up for sure on the welder. Grab the miller app on your smart phone if you have one. its a great starter guide if you aren't sure what to set the tig at. Good progress though! Love the short charge pipes.
Thanks for reminding me about the app. I downloaded it when it first came out just to see what it was about. Totally forgot about it though, need to reinstall it now.
yeah im getting back into tig welding and have been brushing up a lot on stuff. Cant wait to start back into aluminum. Thats where the fun is

Keep it up though. Making great progress.
I have been waiting for this!
I agree with your wife, more progress!! Lol
Jason
USACi =>146.9db
14.88 @ 90.73MPH =>GM Charger, Motor Mounts, Catback exhaust
Looks killer.
PRND321 Till I DIE
Old Motor: 160whp & 152ft/lbs, 1/4 Mile 15.4 @88.2
M45 + LD9 + 4T40-E, GO GO GO
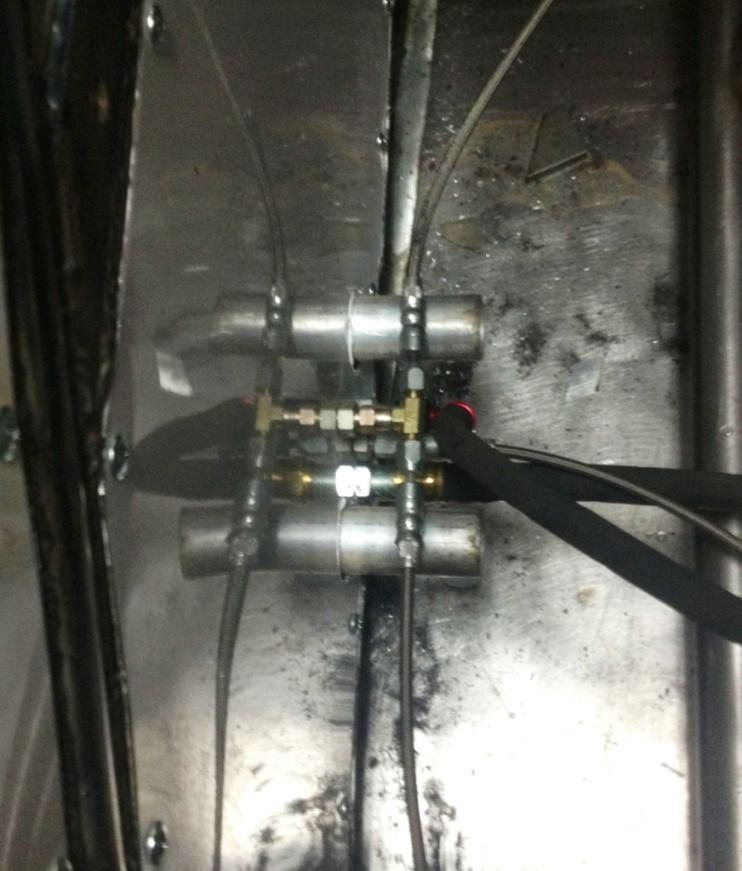
Started to route the brake lines, coolant pipe, and fuel lines today
Rear firewall to engine bay... Coolant pipes, rear brake lines, clutch line, and both fuel lines
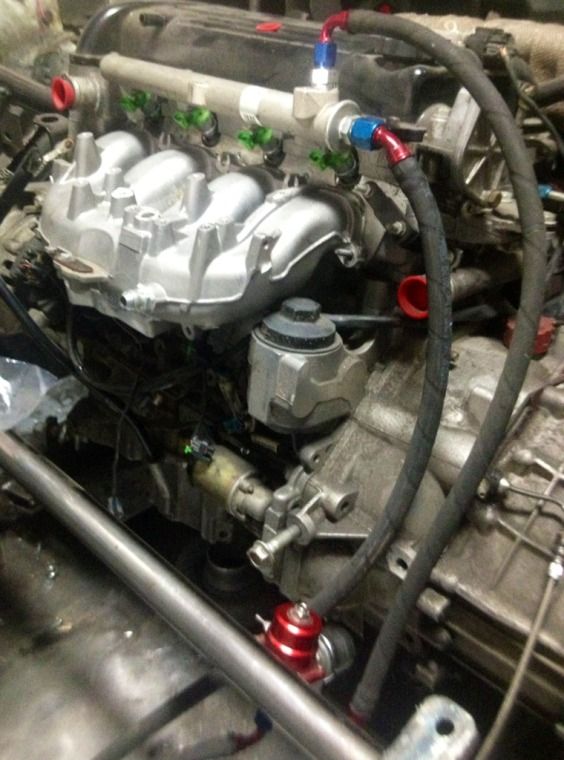
Fuel rail/lines/regulator
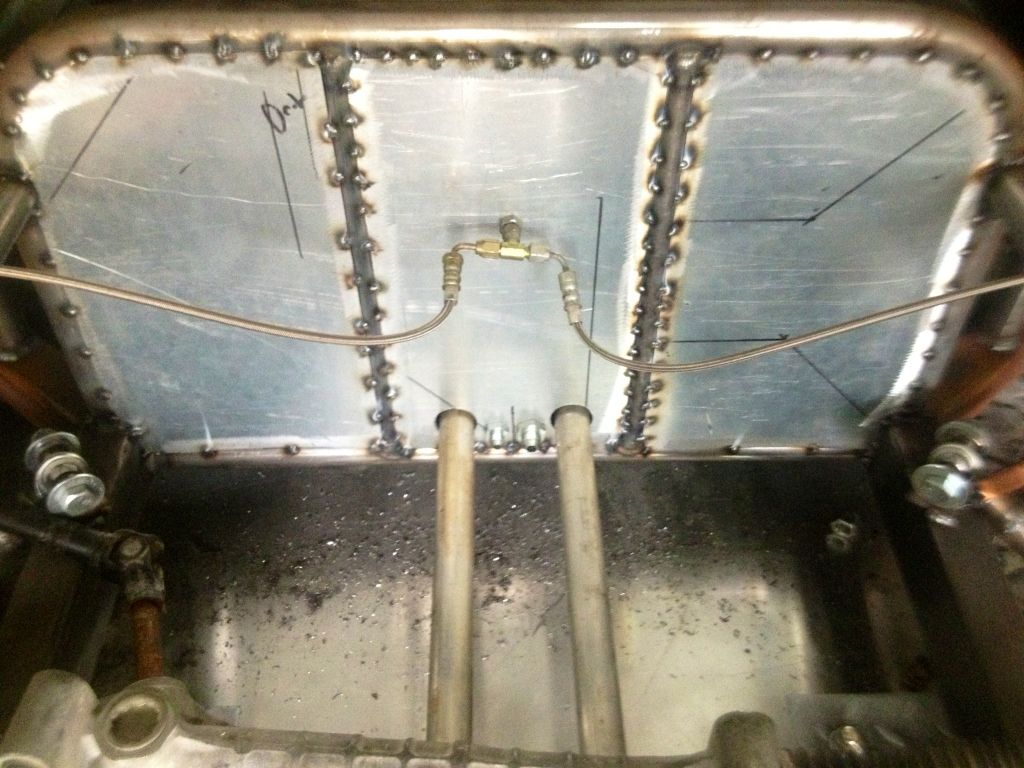
Front fire wall... Coolant pipes, front brake lines, and both fuel lines.
Enjoy life while you can, because you only have one shot. So go BIG or go home.
hmmm... i think id like to see a direct 90* fitting come directly out of the top of the fuel rail instead of that setup but good job all the same.

M45/OS crank/2.4 snout. It's nice to be injected but I love being blown!
Maybe I skipped over it somewhere, but is the rear end going to keep the factory look of the trunk lid or are you converting it into a hatch with a view into the trunk to see the motor?

Building it one piece at a time
-Z Yaaaa- wrote:hmmm... i think id like to see a direct 90* fitting come directly out of the top of the fuel rail instead of that setup but good job all the same.
I just ordered the solution to your complaint. -6 AN aluminum weld in bung/fitting that the 90* will screw straight into. Which should lower the total height about an inch or so, plus have a cleaner look.
Enjoy life while you can, because you only have one shot. So go BIG or go home.
Josh Watson wrote:Maybe I skipped over it somewhere, but is the rear end going to keep the factory look of the trunk lid or are you converting it into a hatch with a view into the trunk to see the motor?
The setup would resemble that of the NXS. I will still have a modified trunk that will house the bcm and ecu with some storage space. The engine compartment is separated and yes it will be visible with the use of lexan
Enjoy life while you can, because you only have one shot. So go BIG or go home.
Ben Wootson wrote:-Z Yaaaa- wrote:hmmm... i think id like to see a direct 90* fitting come directly out of the top of the fuel rail instead of that setup but good job all the same.
I just ordered the solution to your complaint. -6 AN aluminum weld in bung/fitting that the 90* will screw straight into. Which should lower the total height about an inch or so, plus have a cleaner look.
lol very nice!
M45/OS crank/2.4 snout. It's nice to be injected but I love being blown!
the last section of the charge pipe, just need to weld the blow off valve adaptor to it
the start of the truck, this is where the electronics with be housed. its just a sheet of aluminum that i bent on the metal break.
Enjoy life while you can, because you only have one shot. So go BIG or go home.


