I started a thread about my miata a while ago. Just showed a few pics. Well it was kind of scattered out and such so thought I would start a real build thread to share. So here goes....
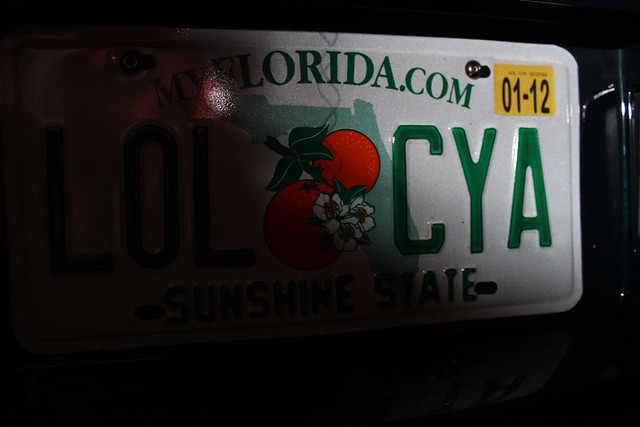
1994 Mazda Miata
1994 Mazda Miata M-Edition
Stock Bottom end
Stock top end
stock torsen lsd
rwd 5 speed
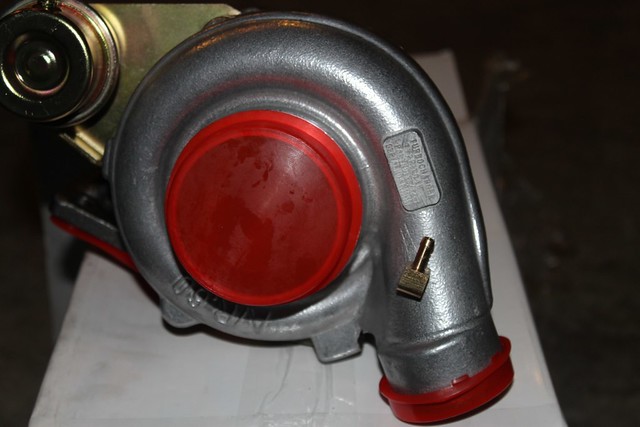
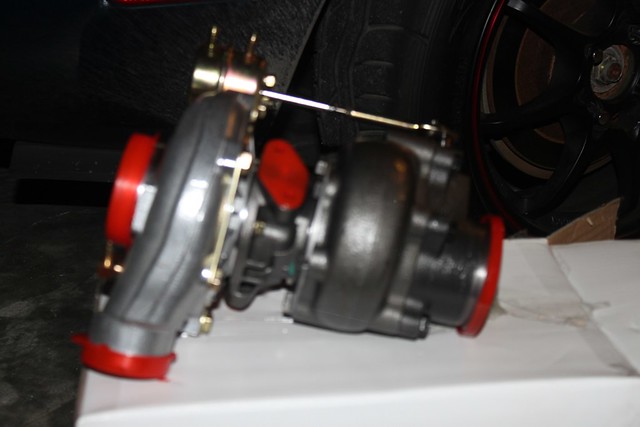
T3 GT30 Turbo
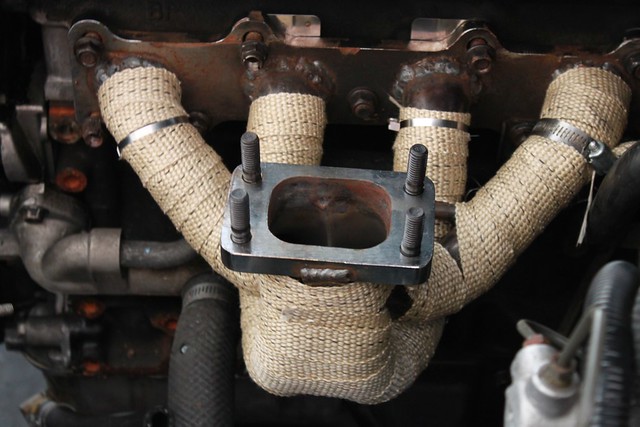
Custom Built by B&B Muffler and Dyno T3 Top Mount manifold
cx racing intercooler
HKS SSQV BOV
greddy emanage ultimate
flyin miata o2 clamp
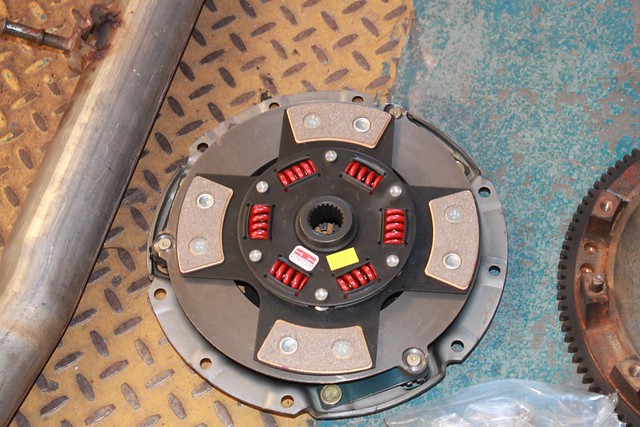
Competition Stage 5 4 puck sprung clutch
bell engineering rising rate fuel pressure regulator
supra 305 cc injectors
custom dual feed fuel rail
aem wideband
aem digital boost gage
digital fuel pressure gage
3'' dp
3" full exhaust Cherry bomb double walled tip
ac delete
ps delete
lowering springs
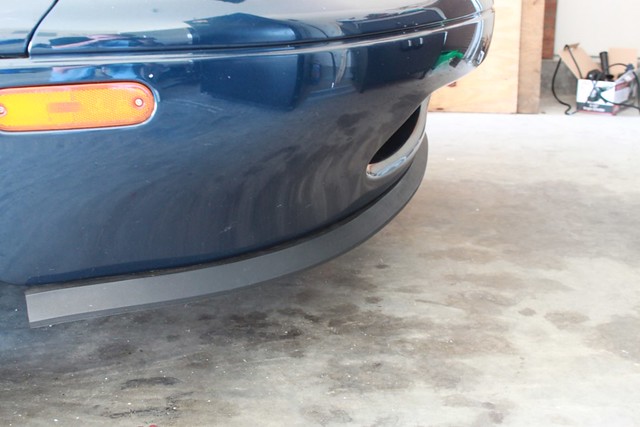
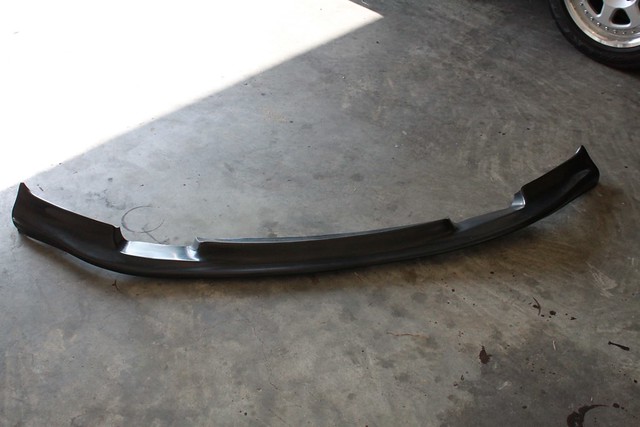
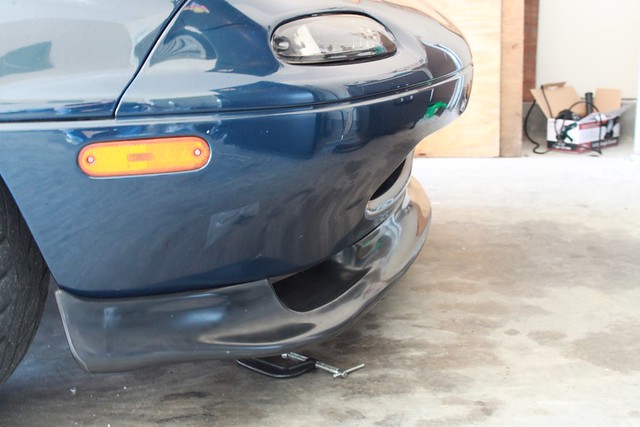
diy front and rear lower lips
fog lights
fake carbon fiber tail lights
tt style roll bar
Bride Low Max seats
Sparco Harnesses
JVC CD Player
NGK Plug Wires
NGK V-Power Spark Plugs
Drag Wheels
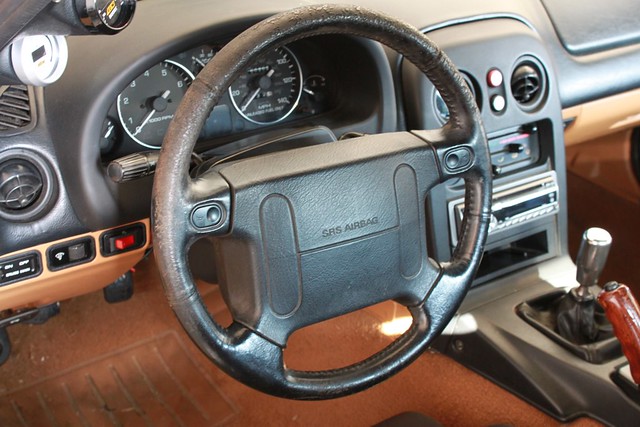
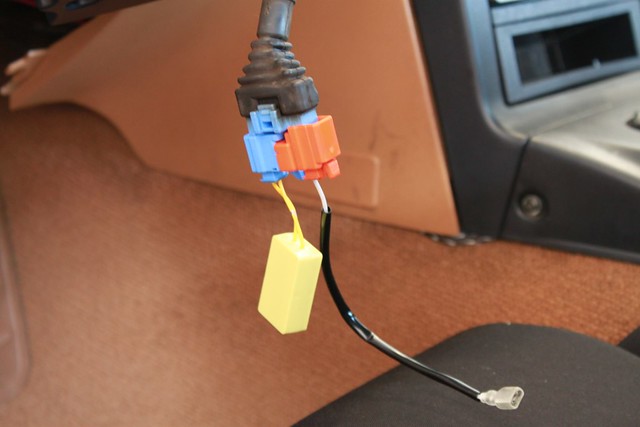
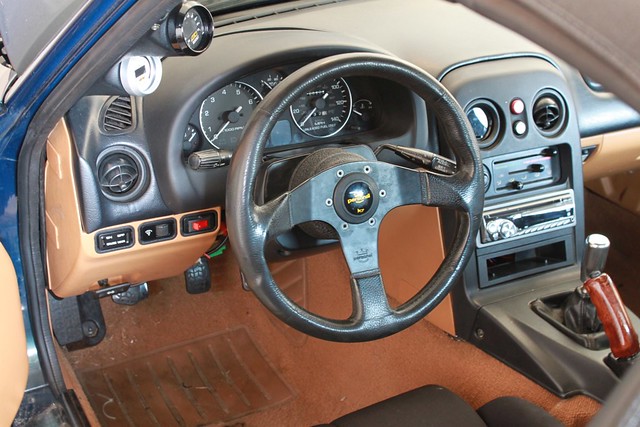
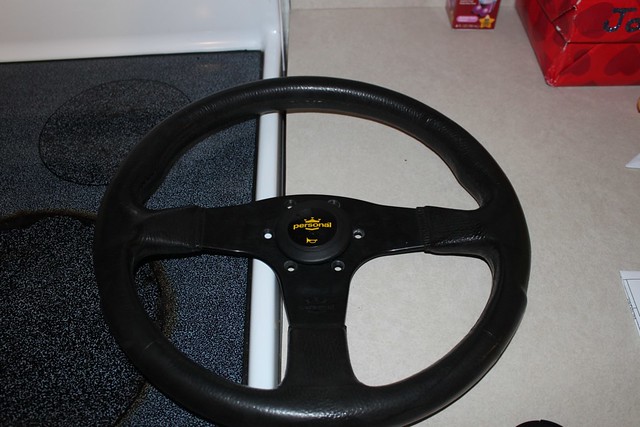
Personal Steering wheel with hub adapter and Air Bag delete.
Bought this car so my fiance (Renee AKA Sexi_Lexi) and I could build her together. Its cheap to mod and a ton of fun.
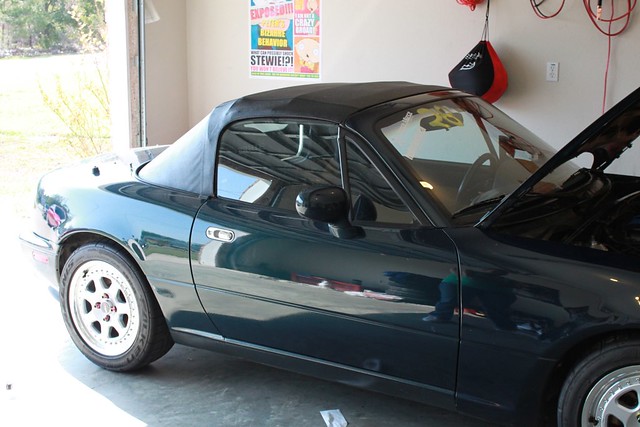
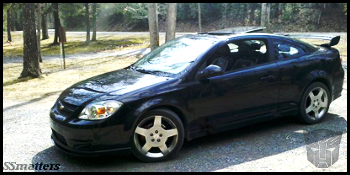
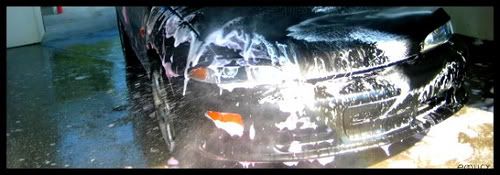
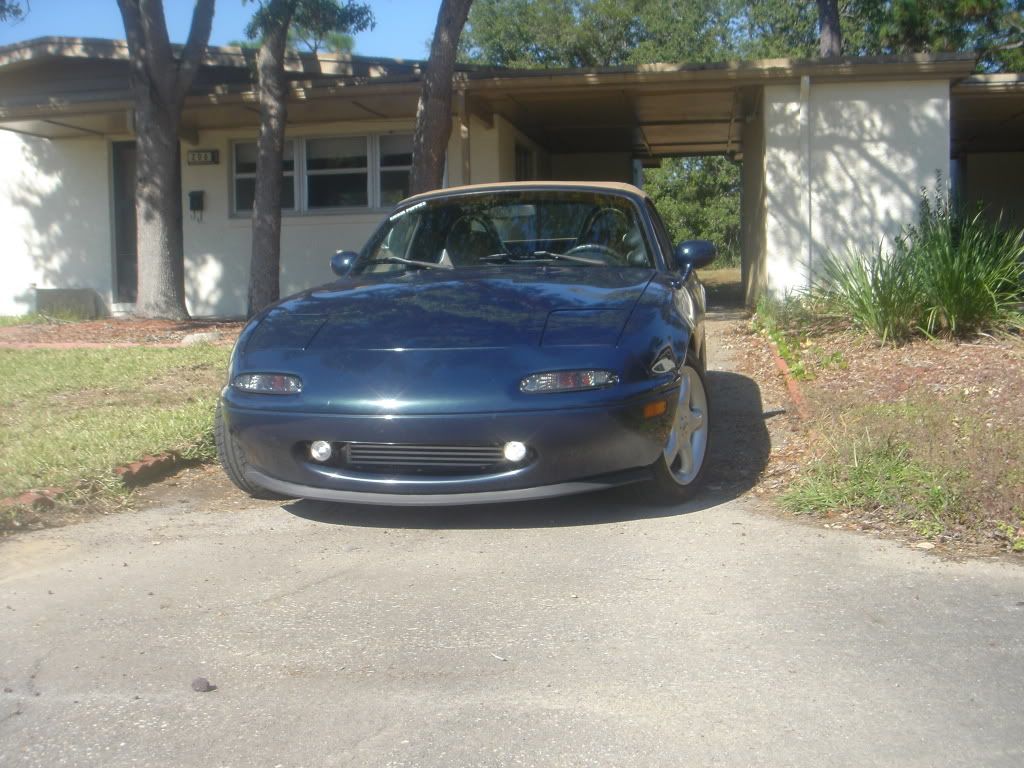
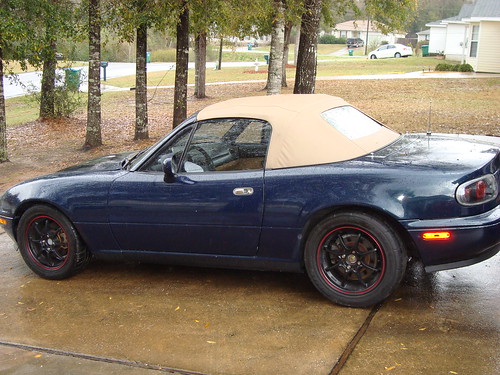
How she looked when we got her.
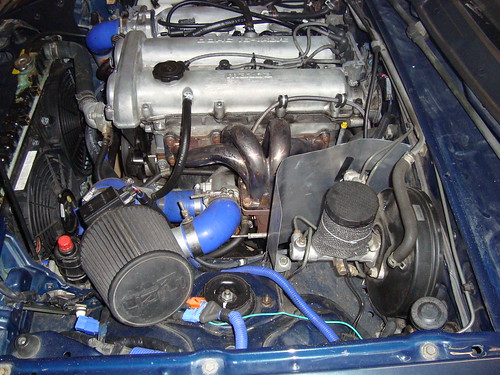
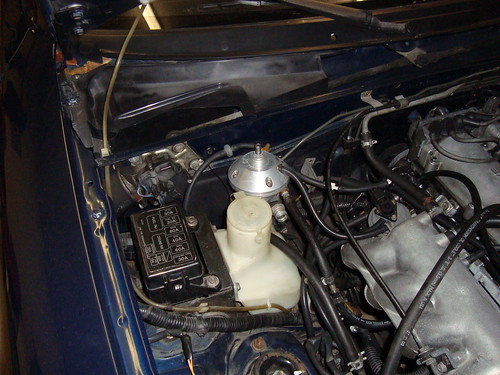
The mess of an engine bay
After we changed the rims and tires and added an HKS SSQV BOV took it to holt. Ran an 8.6 1/8th mile with a 1.9 60ft time.
The old rims
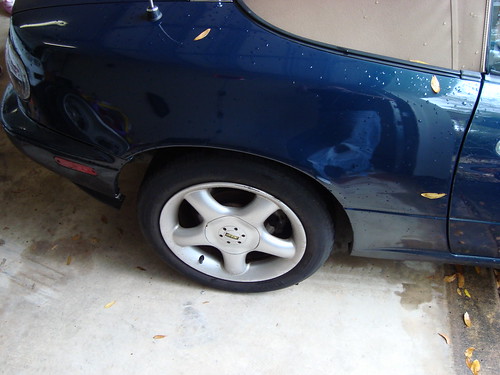
After changing the rims and tires. I had these laying around so figured why not put them to use.
After running the 8.6 the Flyin Miata Stage 1 clutch wasn't cutting it. Thats when we went with the Comp Clutch stage 5 4 puck.
New clutch
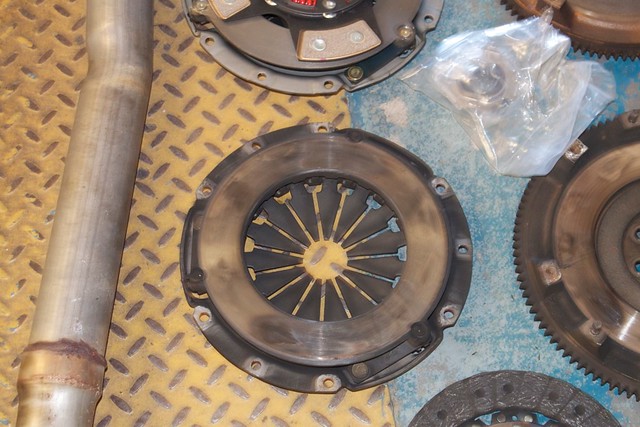
I did a number on the fly wheel when I burnt the clutch up. Thanks to chris850 picked up a stock one in good shape.
Burnt up pressure plate
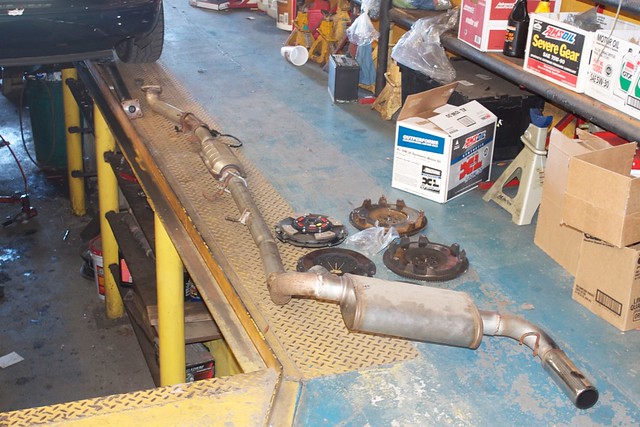
New and old parts with the old exhaust and gay tip on it.
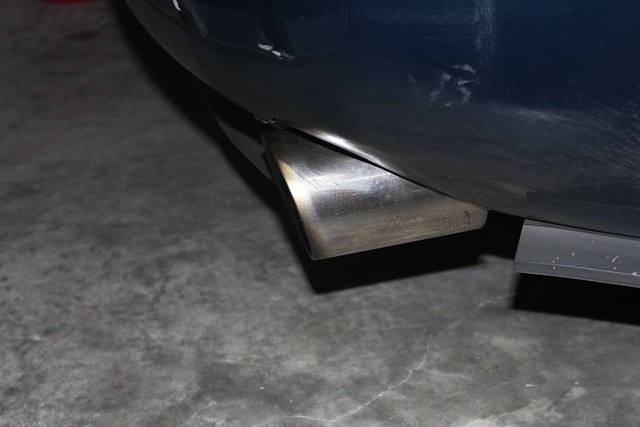
The new exhaust tip, lol.
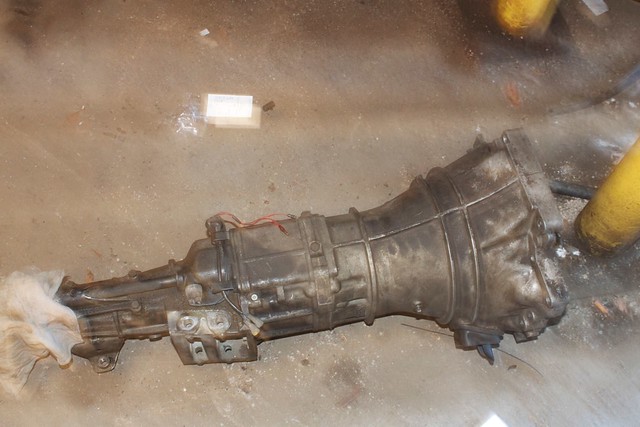
Tranny out

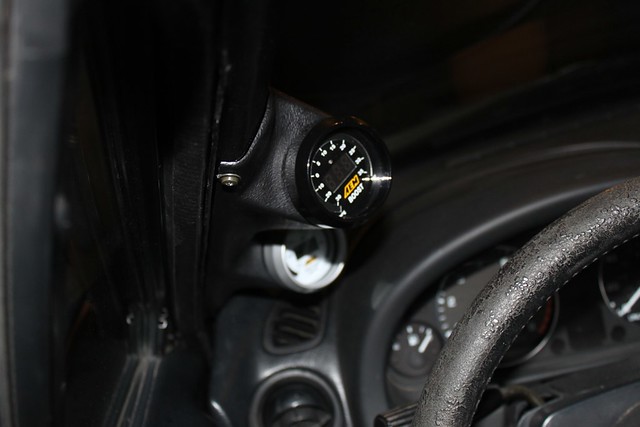
Added the AEM Digital boost gauge. The autometer one sucked and was inaccurate.
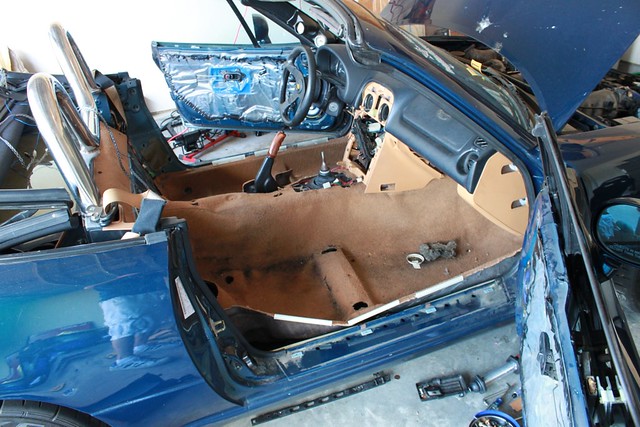
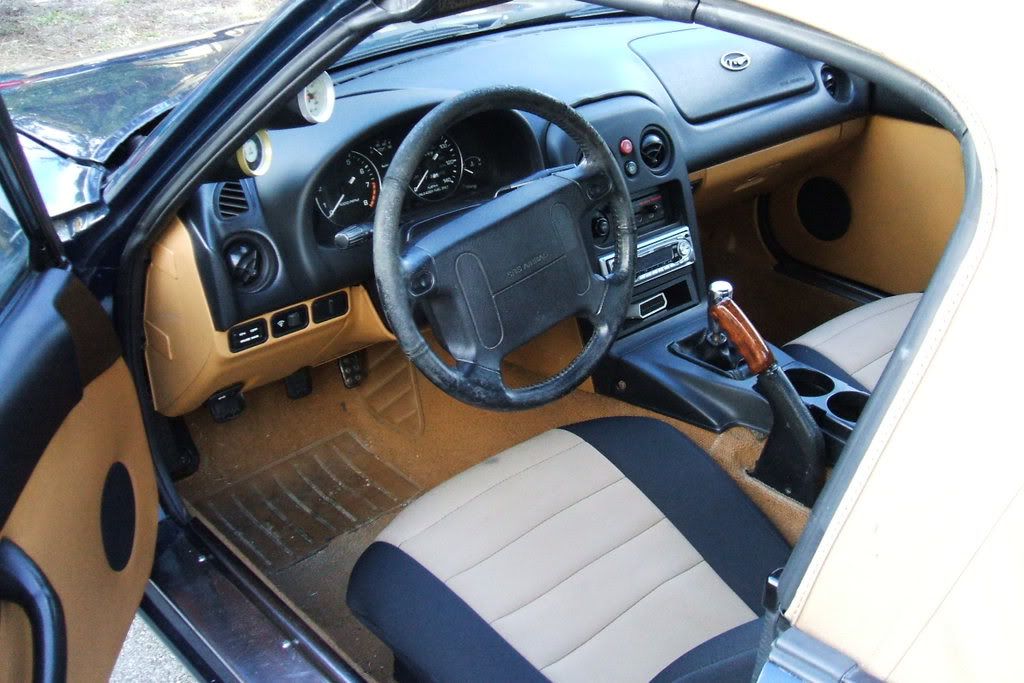
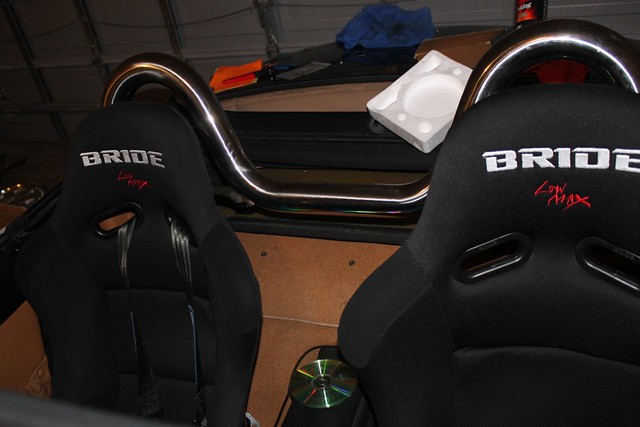
Added the bride low max seats
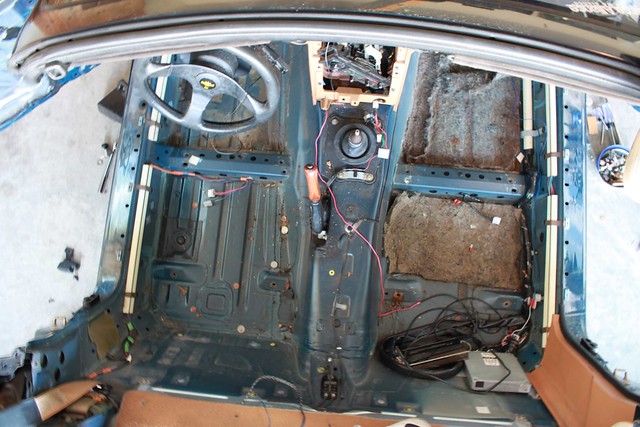
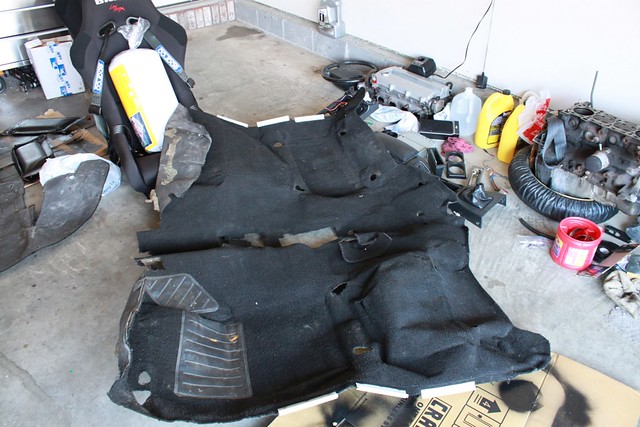
We have a full set of black carpet in perfect shape waiting to go in as well.
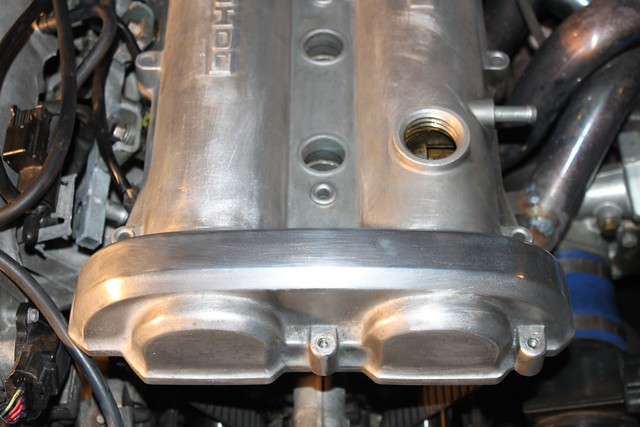
The valve cover gasket started leaking so figured it was a good time for a new one. This was a good time to take care of the ugly valve cover
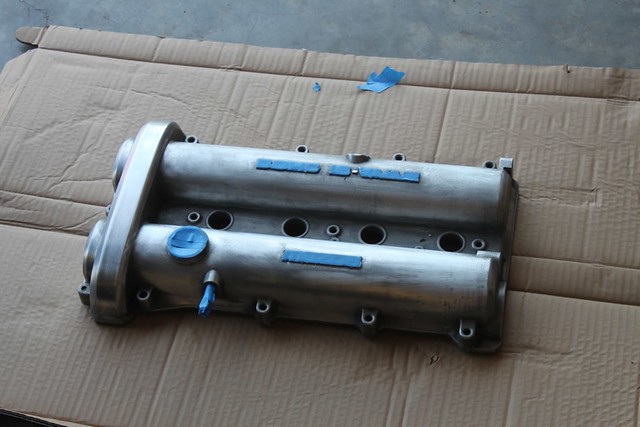
I started polishing it but wasn't satisfied with the way it came out. Here you can see part of it done.
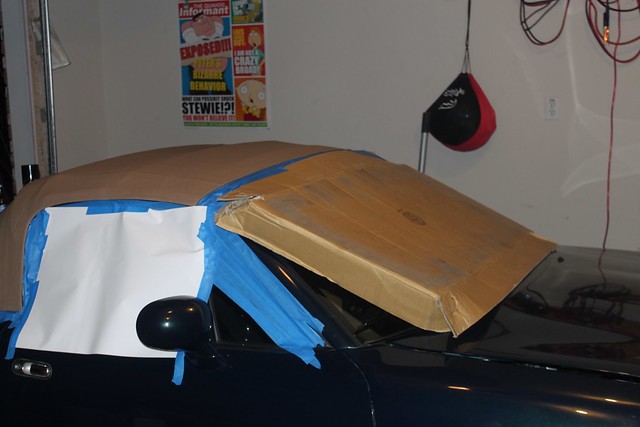
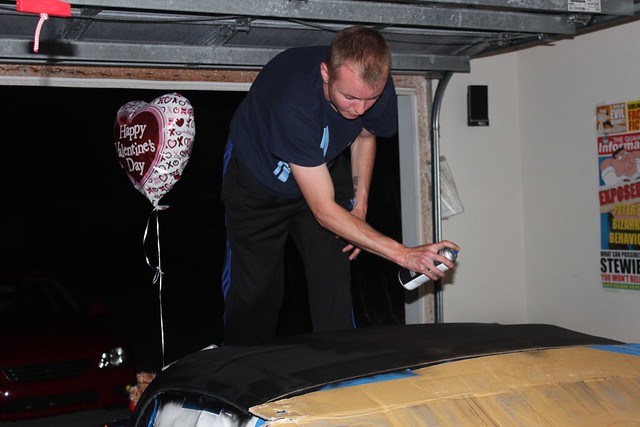
So we decided to paint it instead.
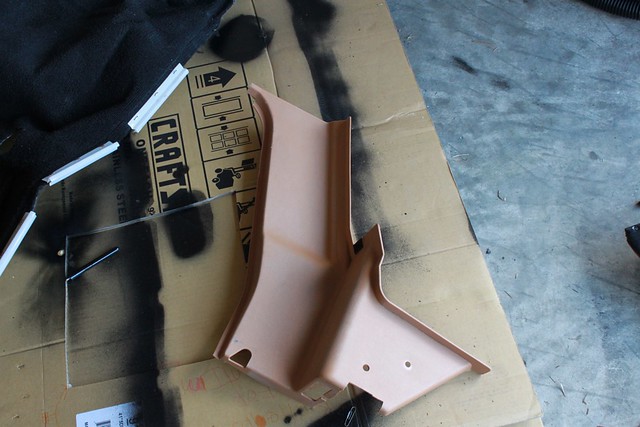
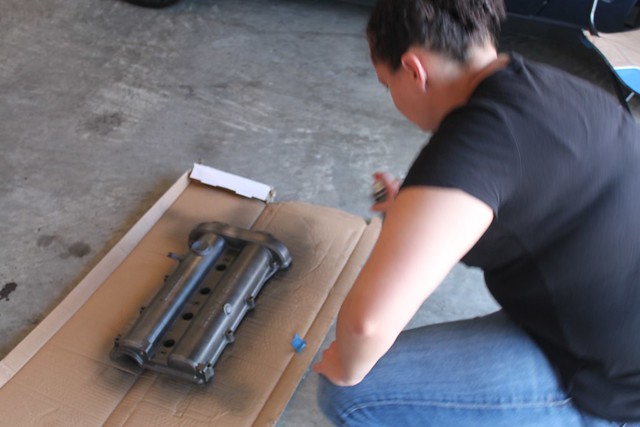
Prepping it for paint.
Renee laying down the paint
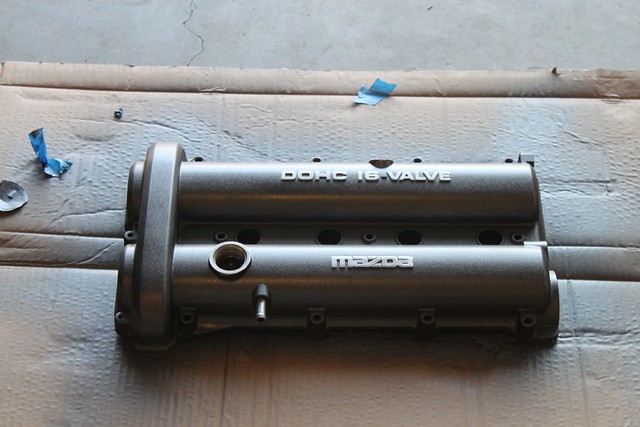
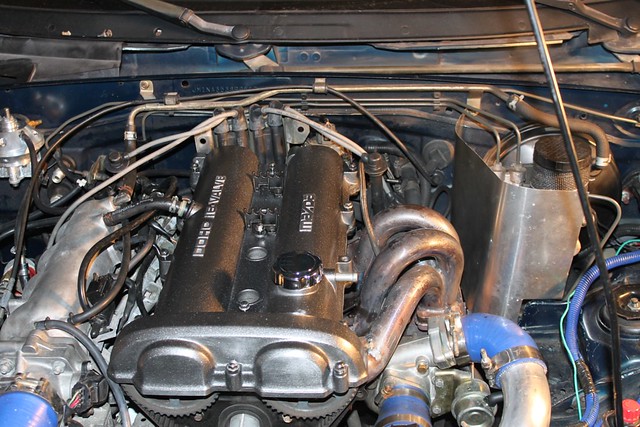
All painted, we decided to leave the lettering polished.
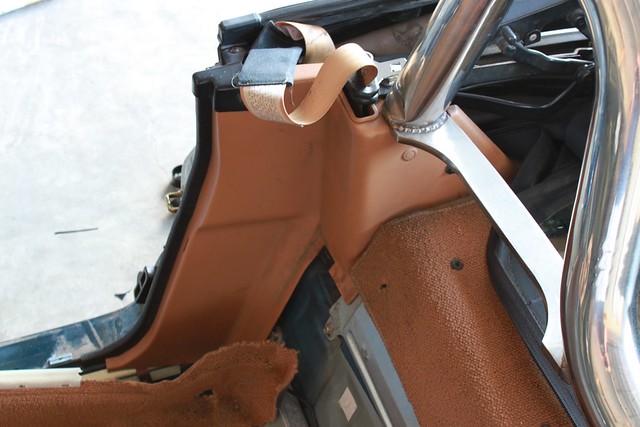
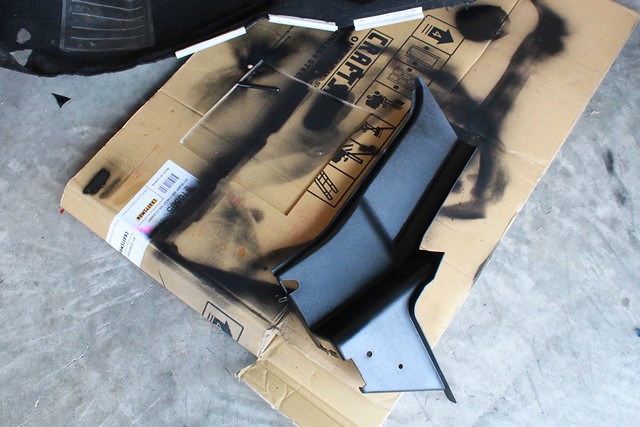
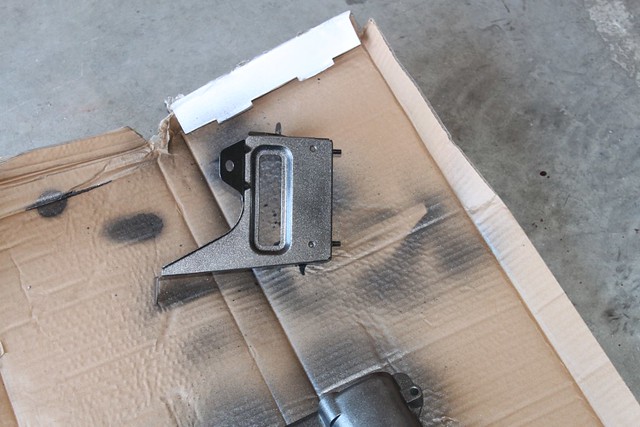
Was also a good time to do one of the ugly brackets and some cleaning. Just one small part at a time.

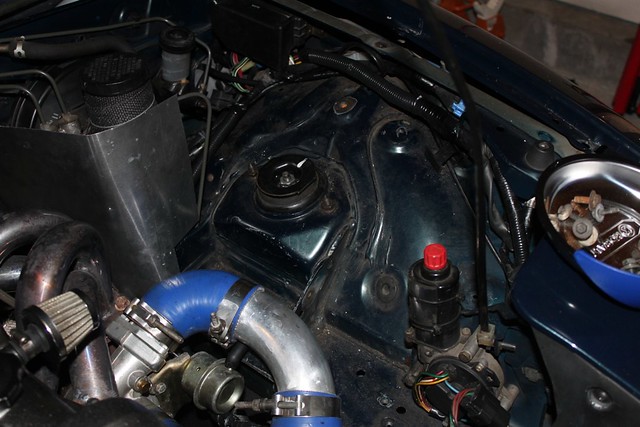
Put it back on and removed the washer fluid reservoir. Its just a toy so don't really need it, lol.

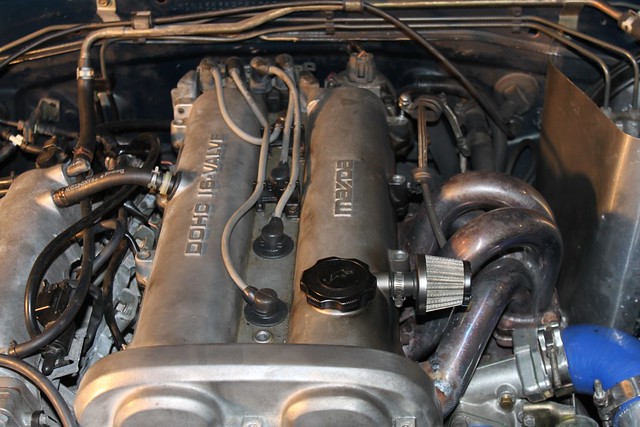
Put the valve cover back on and spiffy oil cap. I got it for 7 bucks from the ricer section at Advance Auto. Bad idea it started leaking at the track. Oh well live and learn.
The wires and ricer blue wire loom were killing me. So I tucked it up best I could and put some black wire loom on.
Before
After
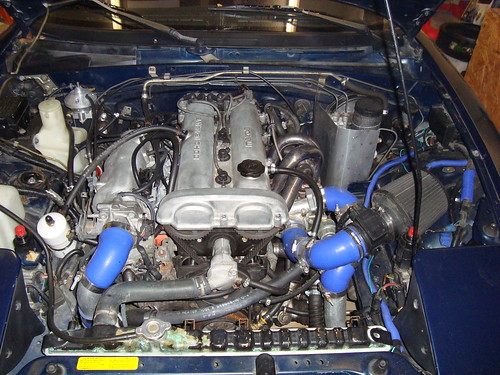
The engine bay still hasn't had a good cleaning. Its getting painted black when the new engine goes in. You'll read more about that later on.
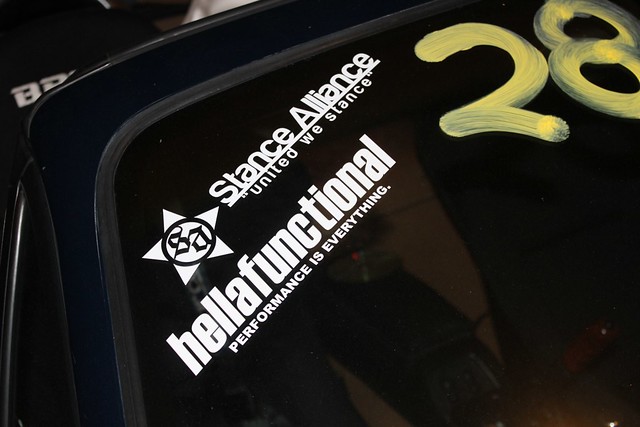
HellaFunctional
New NGK Plug wires waiting to go in

Personal steering wheel. The new hub and air bag delete are in the mail.
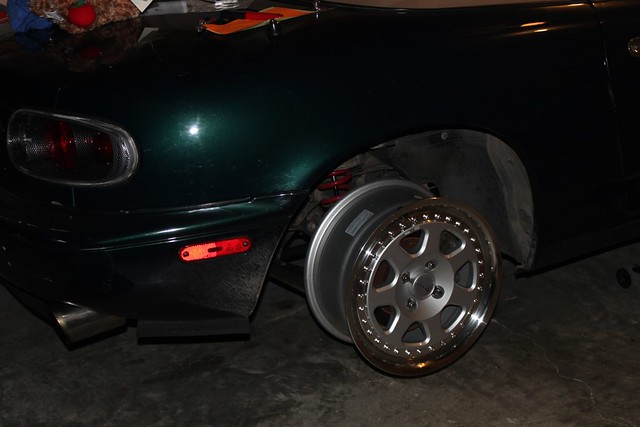
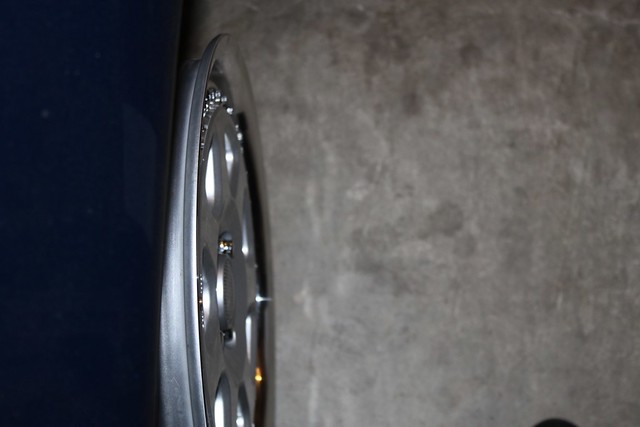
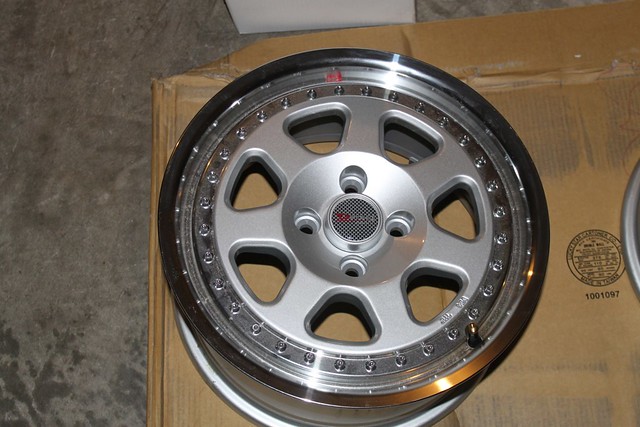
We found these today for 250 bucks. Brand new 15x7 wheels never mounted. So we snagged them. Now we can go from 205/50/15 to a 225/50/15. Now I can use my other wheels for auto x, these for daily driving, and pick up another set for drag.
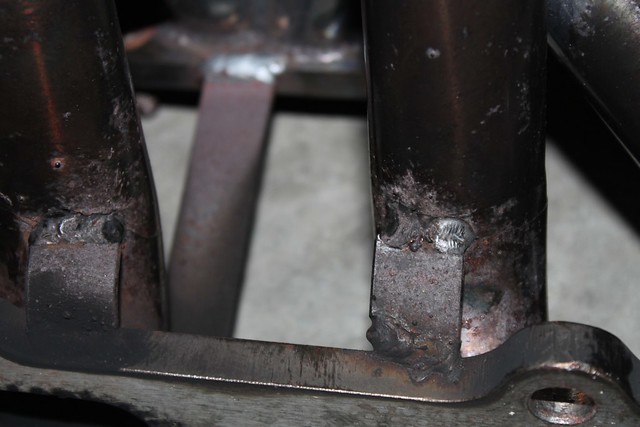
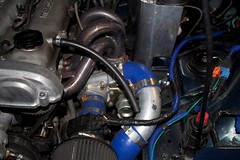
After the new exhaust went out it didn't sound right. I thought there was an exhaust leak. So I went back and had it looked out. Found out the manifold was cracked. So B&B welded it up free of charge. We started looking around and realized on the bottom of another runner it was cracked even worse and leaking bad.
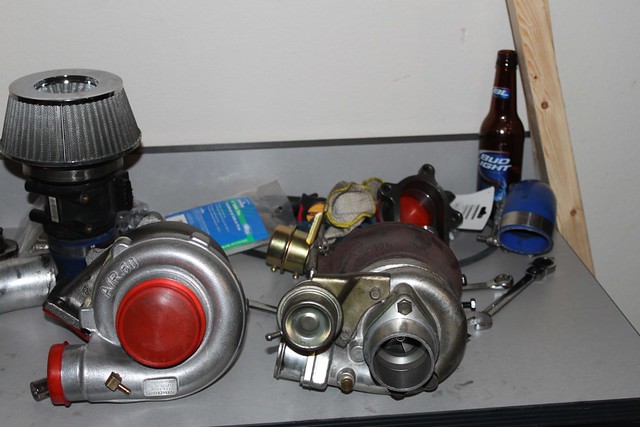
I went to the track and it got worse. I looked at the manifold and all 4 runners were cracked about to break in half. Time to get rid of the cheap ebay manifold. So we ordered an M-Tuned shorty tubular t3 manifold. I got with Jason at B&B muffler because now we have a t25 turbo that was too small and a new manifold that is on the way thats t3. Sounds like a good excuse for a GT30. So we did just that.
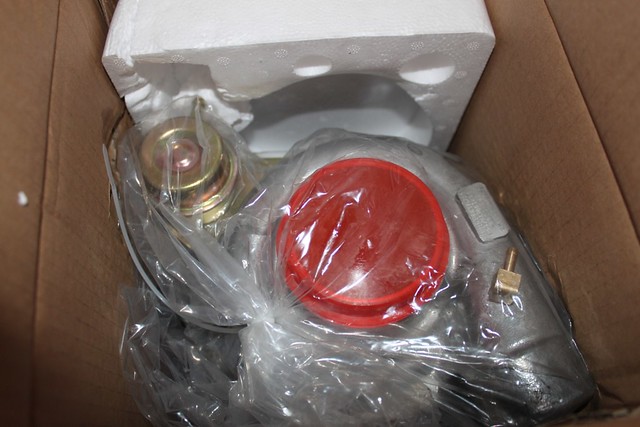
Waiting on the new manifold to come in so we can have this installed
I knew if I got Renee out in the garage enough she would realize my tool box blew. It worked, picked this up.

Thats all for now