Howdy!
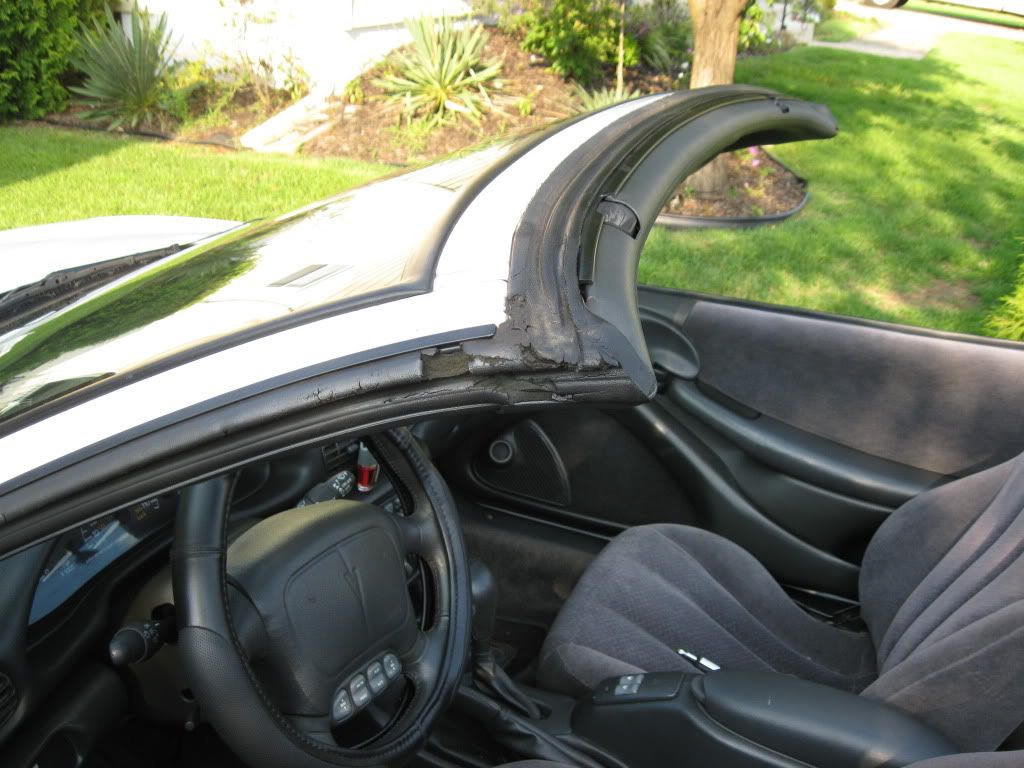
Looking for the mounting clips for the driver's window of a 1999 convertible. These bolt thru the front of the glass and guide the glass on the track behind the rear view mirror. Anyone had to replace them ever? I called GM and they said part is discontinued and no more in stock anywhere in US. Started checking salvage yards but none around here either.. My question is, are these clips also used on any other cav or fire or just specific to verts?

Part 3 (at last!)
Materials needed:
Butyl tape
A few more plastic picnic knives
Weather strip adhesive
Lots of time and patience
I bought the butyl tape at Napa Auto. The GM dealership I contacted recommended it.
http://i1136.photobucket.com/albums/n486/ramapoughnative1/IMG_3135.jpg(3136)
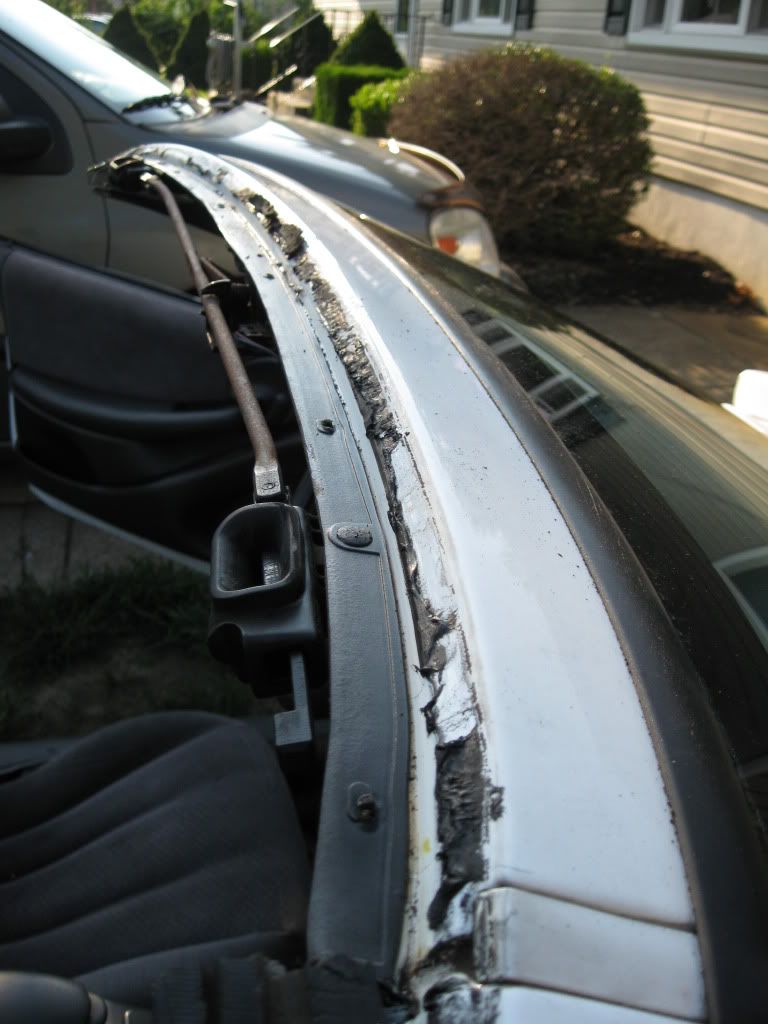
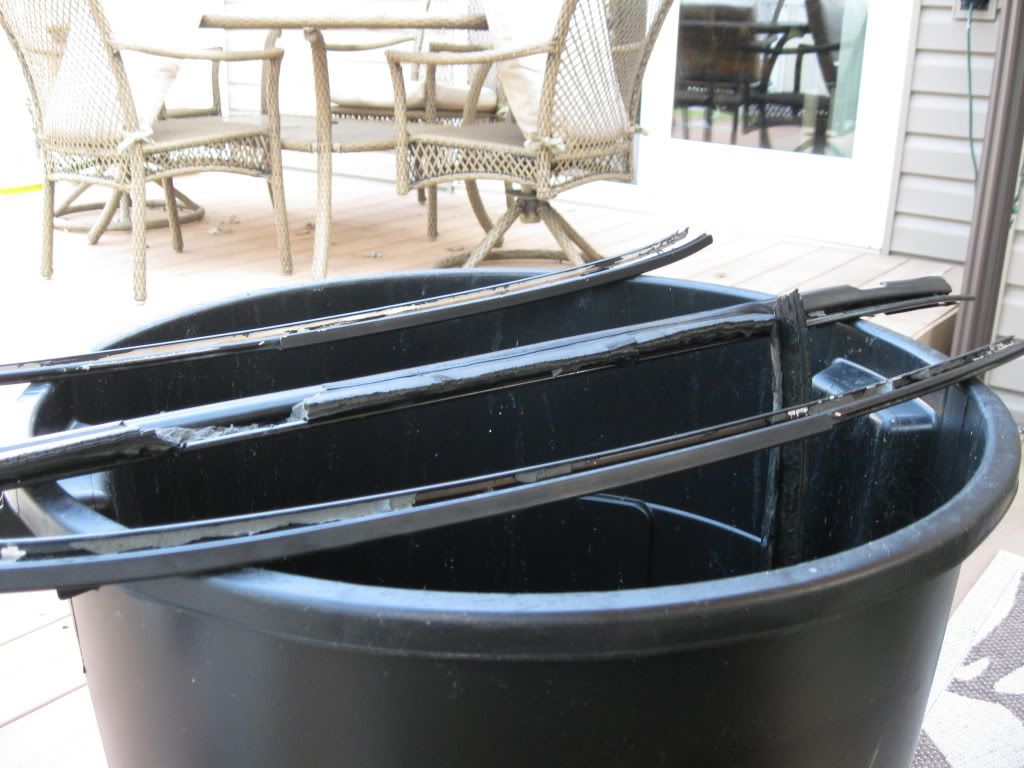
This tape will be used to seal the rails to the header and the sides. Cut a piece to the same length as the header. I recommended cutting and not ripping it because it will stretch and thin on the edge and may cause a leak later.
http://i1136.photobucket.com/albums/n486/ramapoughnative1/IMG_3138.jpg
http://i1136.photobucket.com/albums/n486/ramapoughnative1/IMG_3139.jpg
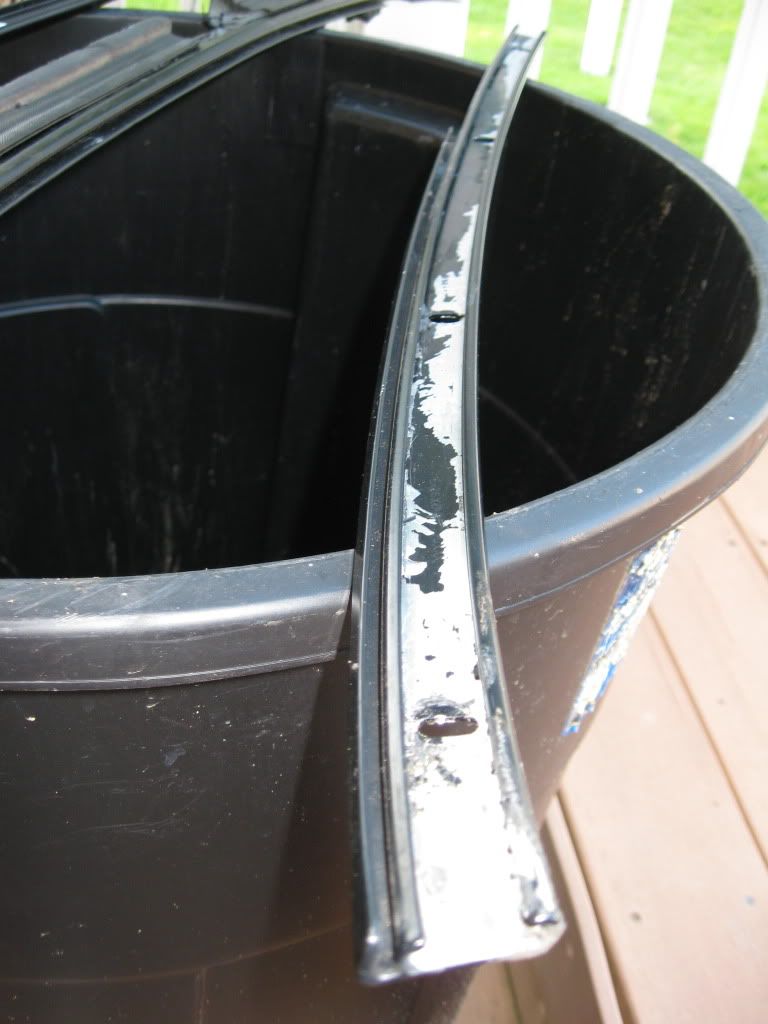
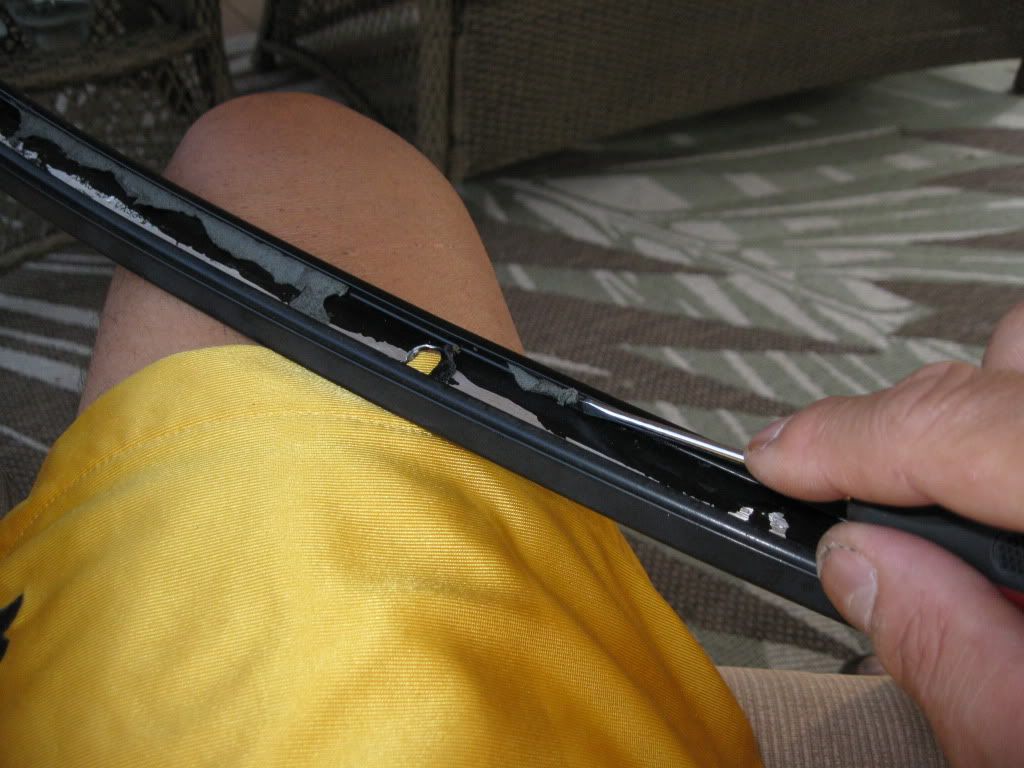
Once the piece is attached to the rail, leaving the paper on, press it semi flat then peel off the paper. Make sure the tape covers the screw holes to seal them from moisture. After the tape is flattened, poke a hole thru it to make the screw pass thru easier.
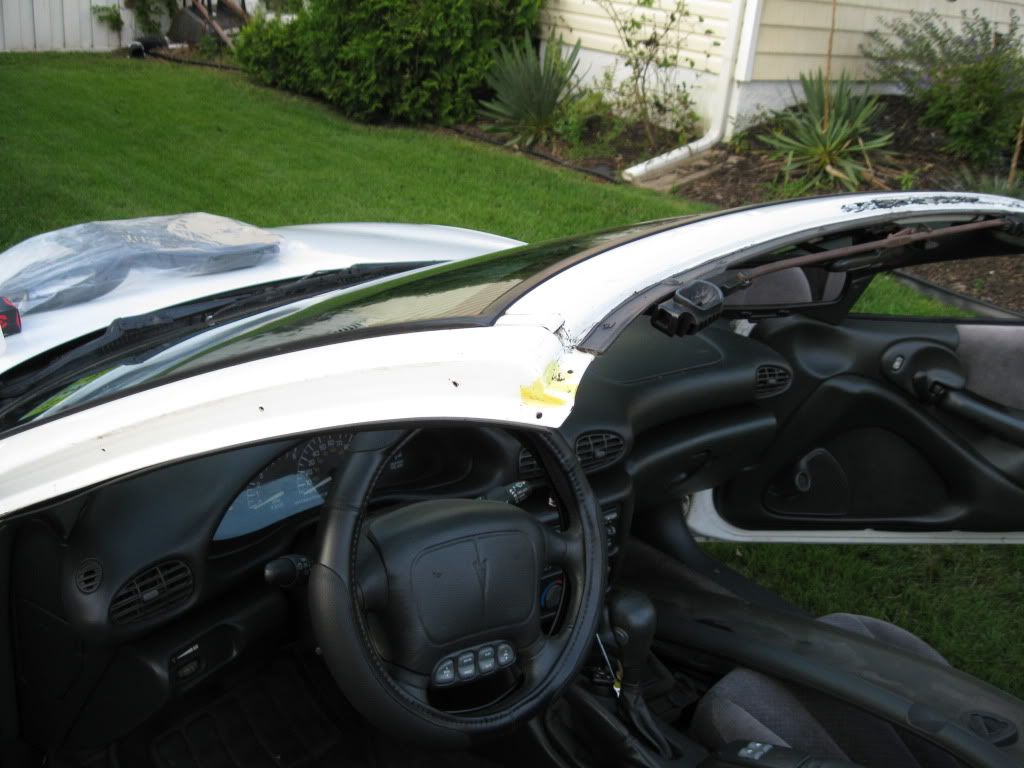
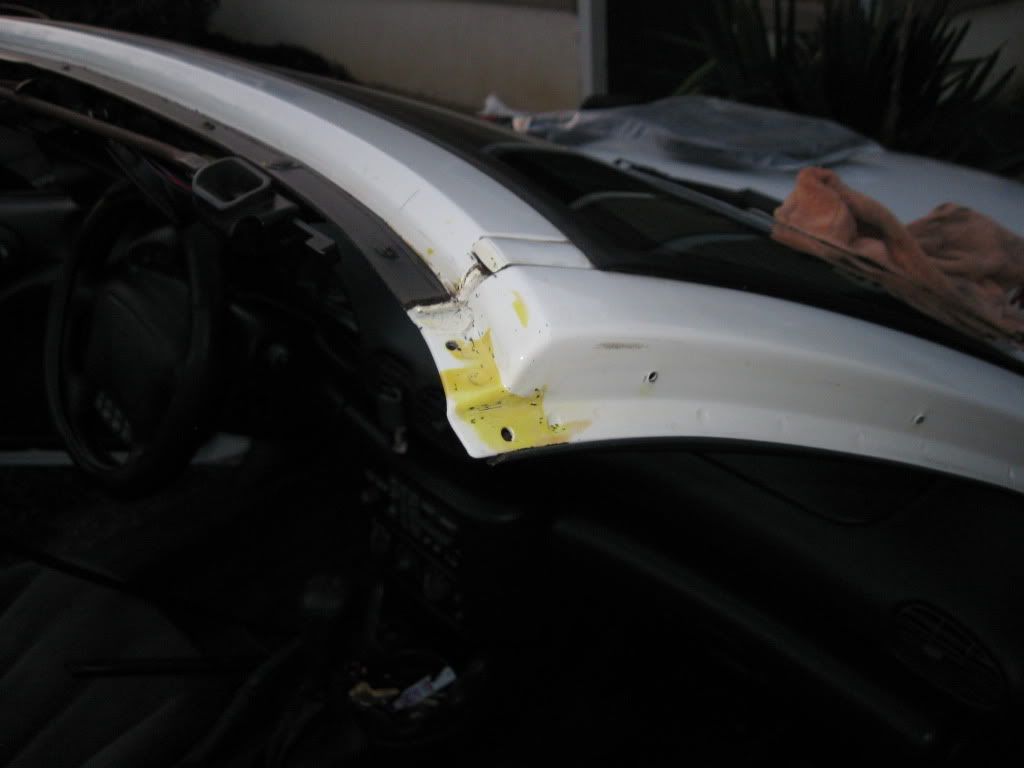
The header rail has a plastic trim piece that connects on the concave side. Dont forget to reattach it before mounting the header rail with the 8 screws removed earlier.
Next install the tape to the side rails and mount using the 4 screws removed. Follow the same procedure as the header top rail.
Now the fun begins...
Run one long bead of sealant, fairly thick across the header rail and extending to the ends. The header seal has a plastic nub in the corner built in with an inset for the side rail.
http://i1136.photobucket.com/albums/n486/ramapoughnative1/IMG_3146.jpg
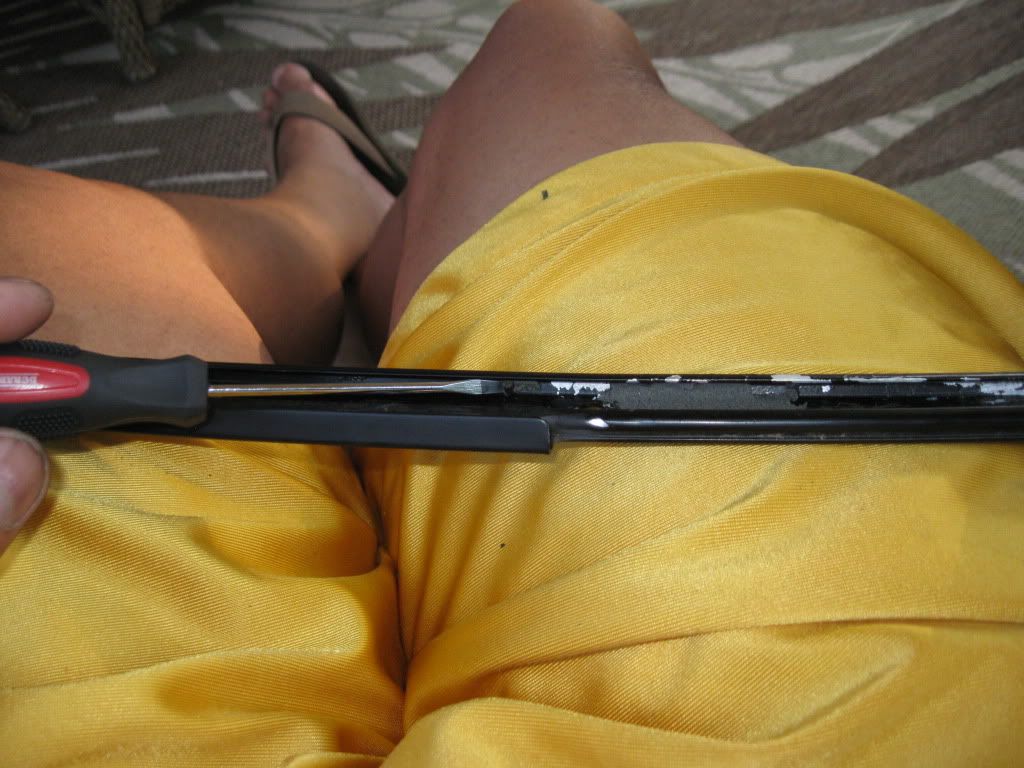
Be sure to get sealant where this nub attaches to the car body. Start from one end, slide the plastic insert into the side rail. Push the plastic nub into the mounting hole on the body. Put the back of the weather strip in first, then using the knife, push the front of the weather strip into the rail.
http://i1136.photobucket.com/albums/n486/ramapoughnative1/IMG_3130.jpg
http://i1136.photobucket.com/albums/n486/ramapoughnative1/IMG_3132.jpg
http://i1136.photobucket.com/albums/n486/ramapoughnative1/IMG_3143.jpg
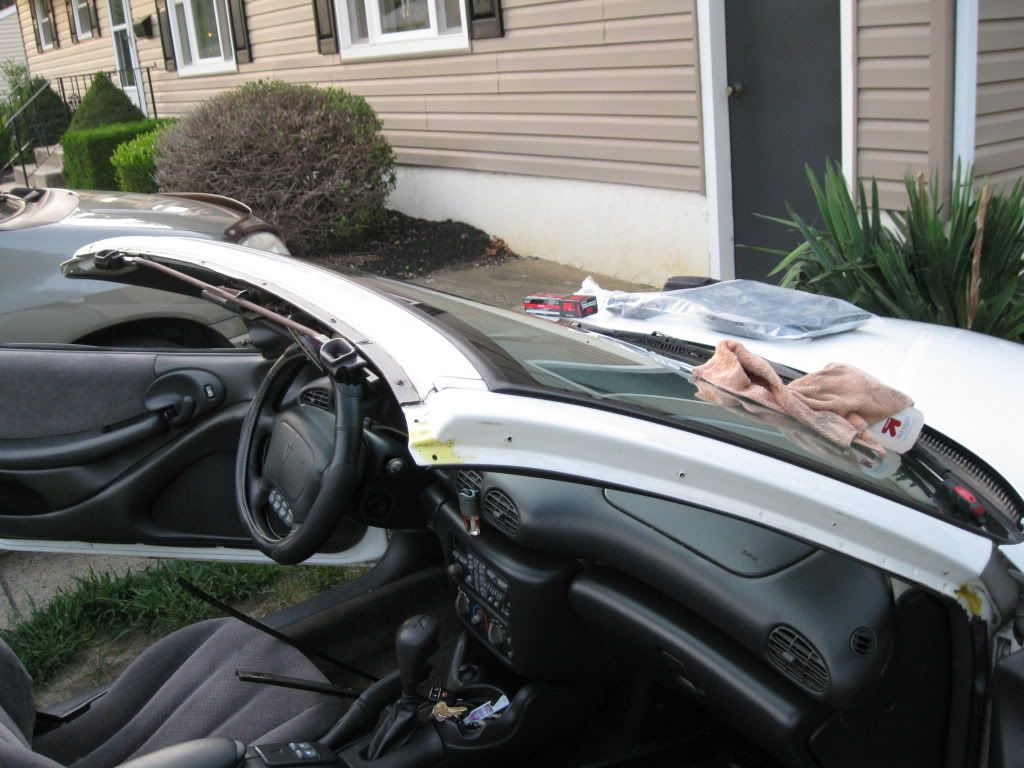
I worked almost half way across and then started from the other end with the same procedure, working my way until all the weather strip was inserted in the rail across the top.
http://i1136.photobucket.com/albums/n486/ramapoughnative1/IMG_3133.jpg
http://i1136.photobucket.com/albums/n486/ramapoughnative1/IMG_3134.jpg
Next we will tackle the sides.
http://i1136.photobucket.com/albums/n486/ramapoughnative1/IMG_3140.jpg
Run a bead of Sealant overlapping the ends, down thru the side rails and ending behind the door where the door weather strip ends. Be generous with sealant on the Header corners and behind the door. Install the Weather seal the same way as the top. When installing the stripping behind the door, be sure to use a generous bead of sealant around the mounting holes for the dimples in the stripping. Be sure to push the end dowel into the door stripping, locking them together. I closed the door and raised the window to help keep the seal tight until it dried.
http://i1136.photobucket.com/albums/n486/ramapoughnative1/IMG_3141.jpg
http://i1136.photobucket.com/albums/n486/ramapoughnative1/IMG_3144.jpg
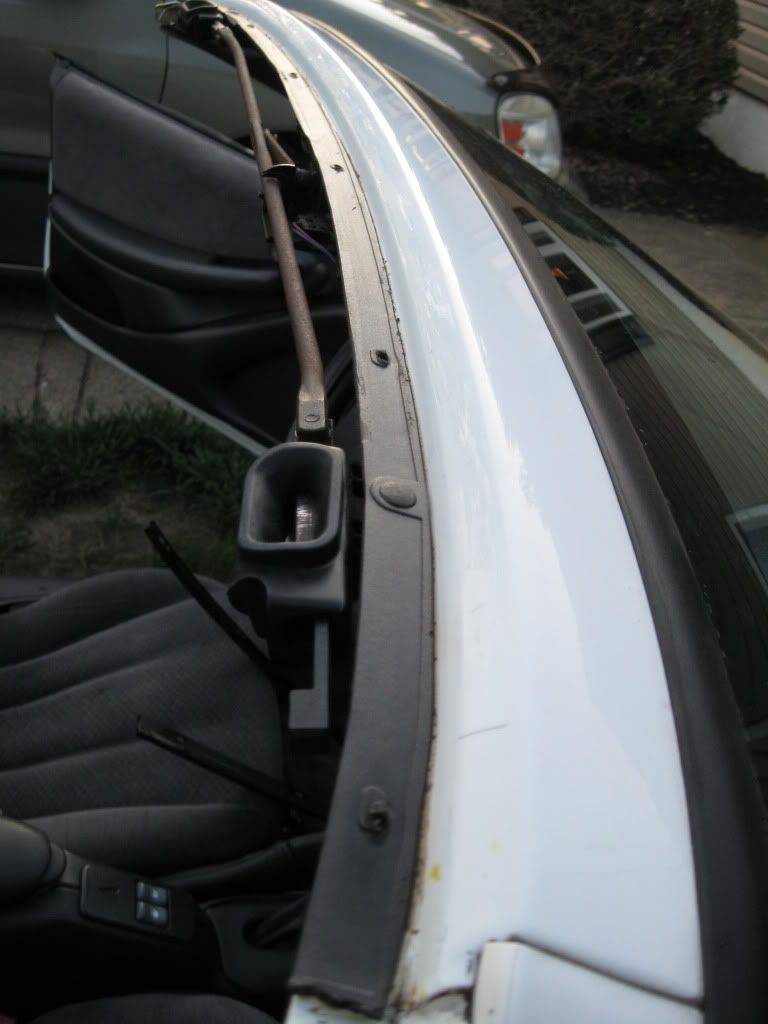
The final thing to do is slightly lift up the front part of the top header seal, run a bead of sealant across the front and push the seal down. This will keep the wind from lifting it up and the water out. When complete, close the top down and let it sit overnight. Any extra sealant on the paint can be removed with a Q-tip and some rubbing alcohol.
http://i1136.photobucket.com/albums/n486/ramapoughnative1/IMG_3148.jpg
http://i1136.photobucket.com/albums/n486/ramapoughnative1/IMG_3149.jpg
http://i1136.photobucket.com/albums/n486/ramapoughnative1/IMG_3150.jpg
Now its time to sit back with a few cold ones and admire your work..
questions? suggestions? thank you all!
As far as the question I asked on the topic. It seems that only the verts us a nylon clip attached to the glass to help the window slide in the rail. I found a 1999 in the salvage yard and raped that puppy!

I have a few spares now and i'm debating if I should have a few made in case anyone else needs them.