Ken- Nope......
Dave- already got a coated header, full 2.5 exhaust......
Dallas- what tinkles said, it's to free up more power.

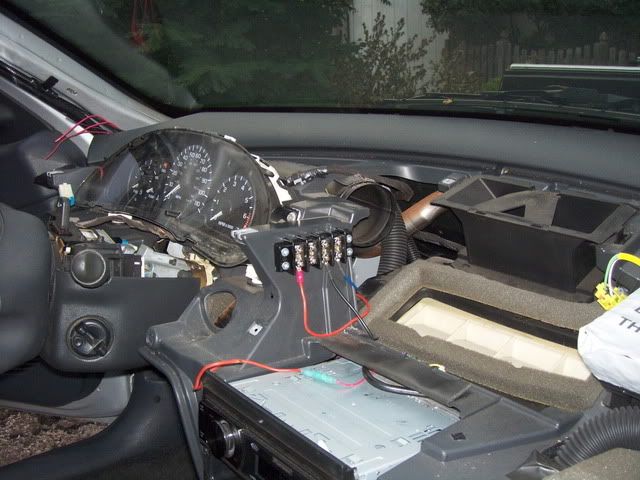
Well I spent my day working on the car some more. I got the oil pressure sender installed and wired up the racetronix 14v harness. I reinstalled the exhaust up to the axle as I'm going to make it tuck up closer to the car but the store was closed when I got there so I didn't make it much further. Then I put a nice scratch in the bezel that I made so i took it out and sanded it down. I'm going to paint it black this time around, but while I had the bezel out again i figured I'd re wire the gauges that were in the car since I didn't like how they were and I planned on adding some more anyway, so I figured I'd make a distribution center or sorts for the gauges to keep it somewhat clean and easy to add or remove. The red is power , black is ground, blue is power for lighting off the dimmer. I'm going to work a little bit more on it tommorow before work and my uncle's birthday if I wake up early enough.

so grand am gt control arms bolt rite up no mods needed did you use jbody ball joints or grand am ball joints and what year grand am did u use

cavalierboy02 wrote:so grand am gt control arms bolt rite up no mods needed did you use jbody ball joints or grand am ball joints and what year grand am did u use
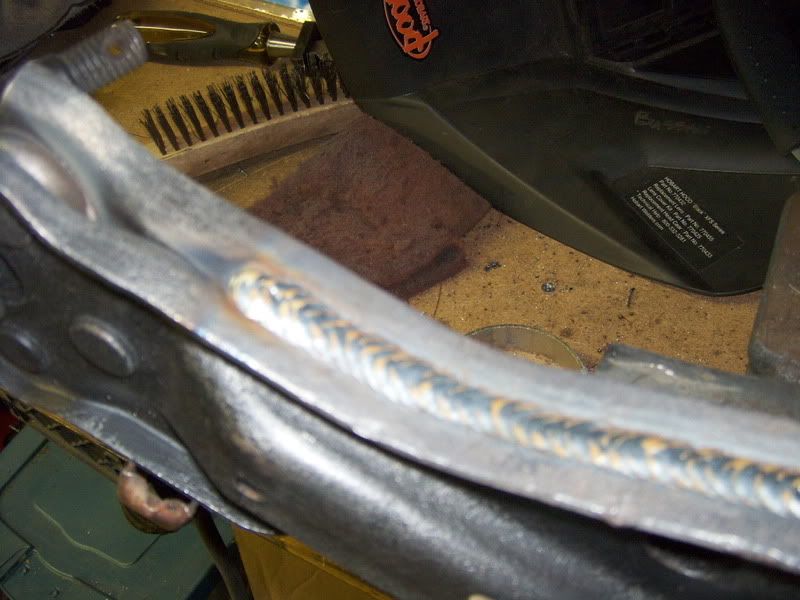
They need to have the ball joint holes welded up and redrilled about 1/2" inward and the ball joint end cut off about 1/2" to fit the ball joints. The arms are ONLY found on 1999 Pontiac Grand Ams(GT, SE, Base, doesnt matter) and Oldsmobile Aleros. Only those two cars and only for that one year.
Jeff - That distribution block takes one power and one ground and allows you to run multiple circuits off it correct? I have been wanting one to wire up the lights for my gauges.
Tinkles


2003 Cavalier 1SV
Bagged and Blown
Cavalierboy- What tinkles said.
Tinkles- You can wire the block up anyway you want, I'm using it for my 4 gauges. Hit up your local parts store and go in the electrical isle and they are only like $4-$9

do you have to weld the holes up or could i gust move it in 1/2 and re reill the hole i can do the rest of the work my self i just dont have a welder that will weld alum..
i picked a set of these arms up today for 25.00 at the pull apart here in town

Yes you have to have the holes welded up.
Tinkles


2003 Cavalier 1SV
Bagged and Blown
ok well i guss im going to have to find a shop to do this then should not be that much to weld up 6 holes and move them in 1/2 inch

damn Jeff, way to go man...gettin more done than I am....BTW, made a decision a month ago, and i'm keepin a tight lip on it till it's on the car....you get it back together, break it in on your way up here....lol....
Project Resurrection is in full swing!
Jeff,Looking good der hay.Keep it up looking very clean.

Thanks guys, I was hanging out with friends from out of town all weekend so I didn't finish putting it together yet....maybe by next weekend.

Looking Great!
___________________________________________________________________

Hahn Stage II - Mitsu TD06-20g |3" Turbo-back Exhaust | 61mm Bored TB |
HP Tuners | Innovate WB02 | Spec Stage 3 | Team Green LSD | TurboTech Upper | Full Addco Sways | Sportlines & Yellows |
Well it is going to be a while before I do much more on the car. My mom got laid off of work and her van is officially down for the count, so I'm giving her my Blazer and with some other things going on I won't have a second vehical untill I can get some cash for a junkyard motor for my dakota that I never planned on driving untill I got an LS1 under the hood....so updates will be alot slower for a while and I'm going to hold off on getting the car tuned until spring now.

I contacted O.E.M. as I have the first set of plates he made for coil overs with the camber option. I'm waiting for my replacements to come in the mail, but after going through my pm's all the way to March I had a pm where he told me he was going to send out a replacement set as these were no good from the get go, but I never received them and didn't get around to installing my coilovers until early September when I forgot about the issue in the first place 6 months later. But before they broke I didn't have any binding issues with them as I played with settings shorty after I got the car running again.
Here is what they look like now.
Drivers Side
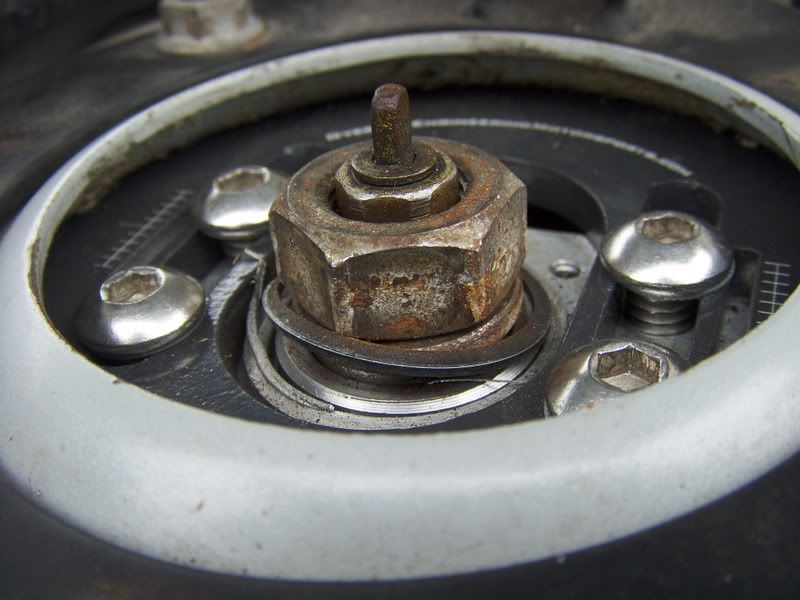
Passenger Side- missing snap ring
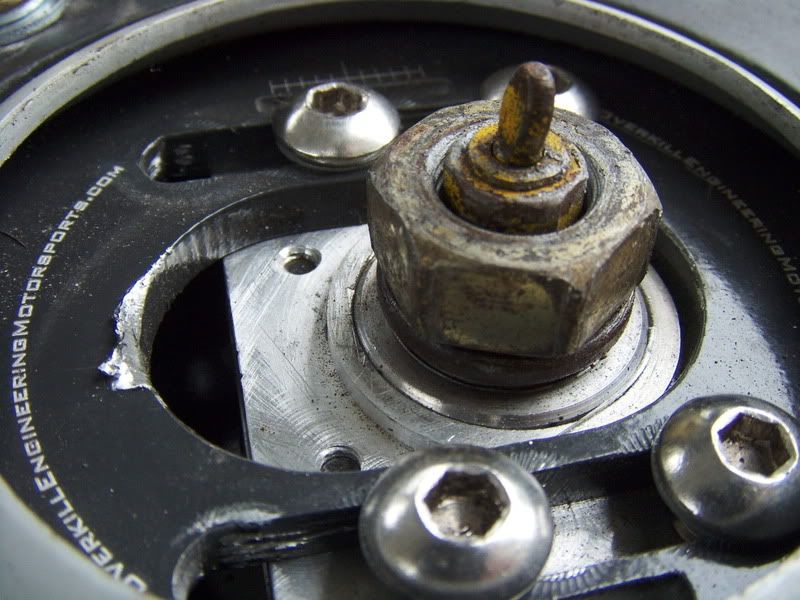

ohhh snap!
literally!
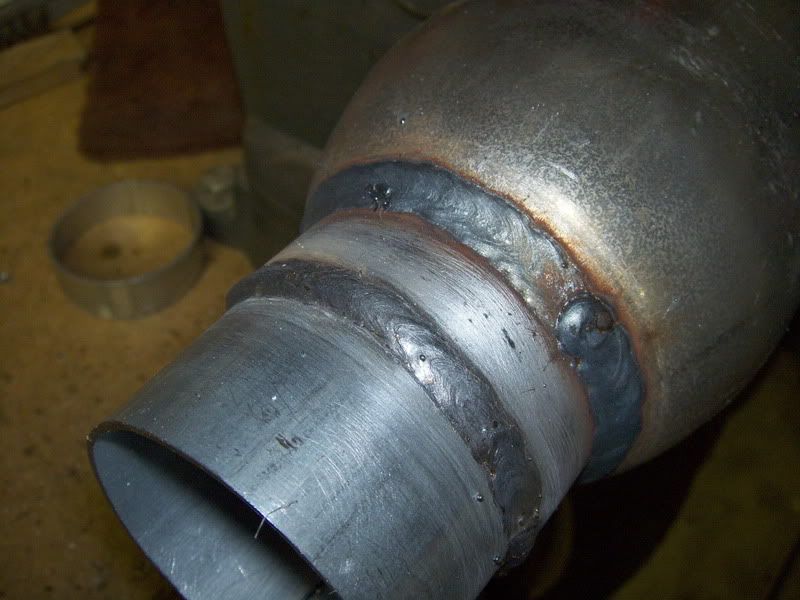
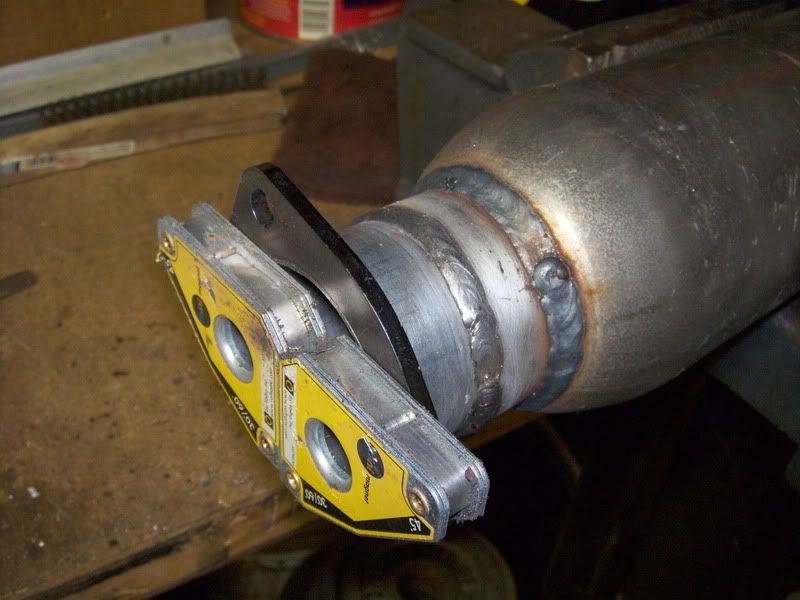
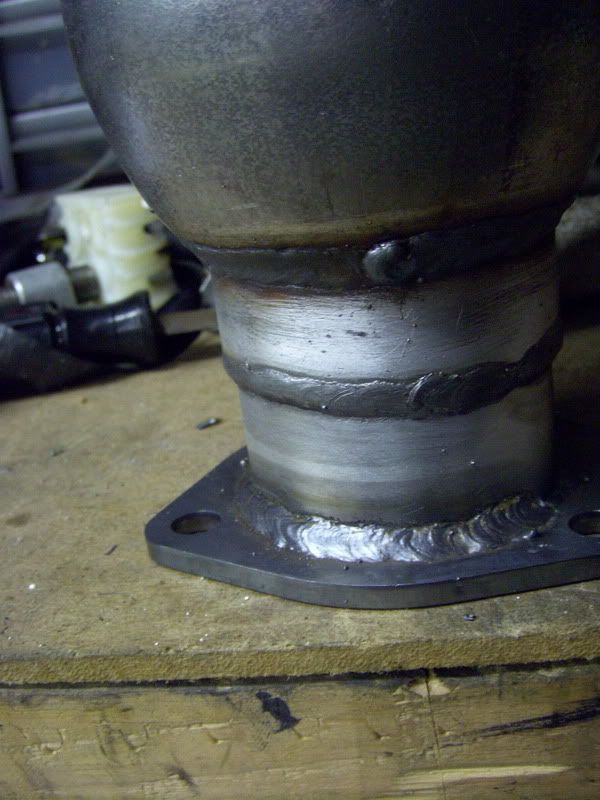
Nice welds man

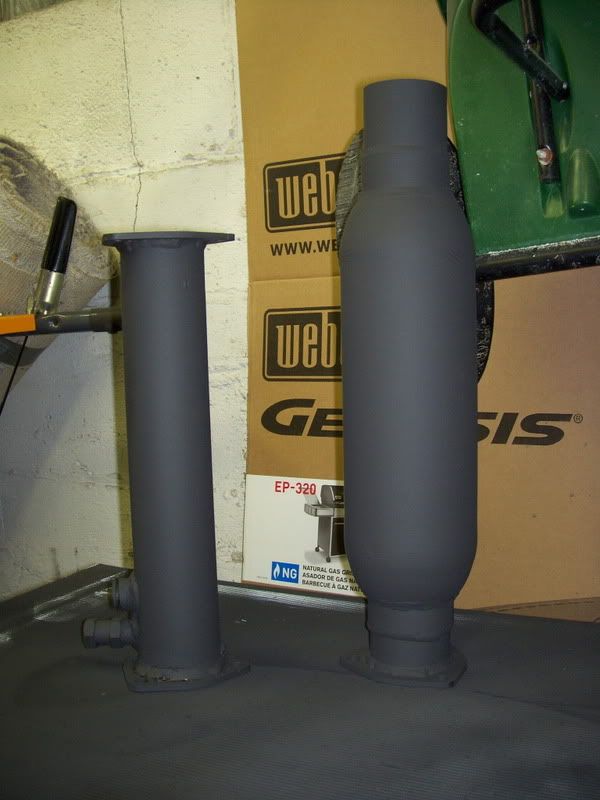
What did you coat the res and test pipe with?

I used a 2000 degree rustolium engine paint.

Update, I got my replacement camber plates all ready to go but the lock nut/washer setup would have bit into the bearing and aluminum and I didn't have a conical style nut. Plus I ran out of time that I'd have a loaner car so I put stock lower control arms/ upper mounts back on the car for the winter. I'll get around to re installing them come spring.
I'll also post track times as I'm going to the strip this coming sunday.

wOOt!! Love this

M62, 42's, ZZP 3", ZZP S3 H/E
214whp 190wtq
my best pass of the two made this sunday was a 14.8@96 with a 2.36 60'ft. I need a some more practice with this dam blower and maybe a stickier tire and I'll be happier.


